BIKEPACKING: HOW TO GET STARTED?
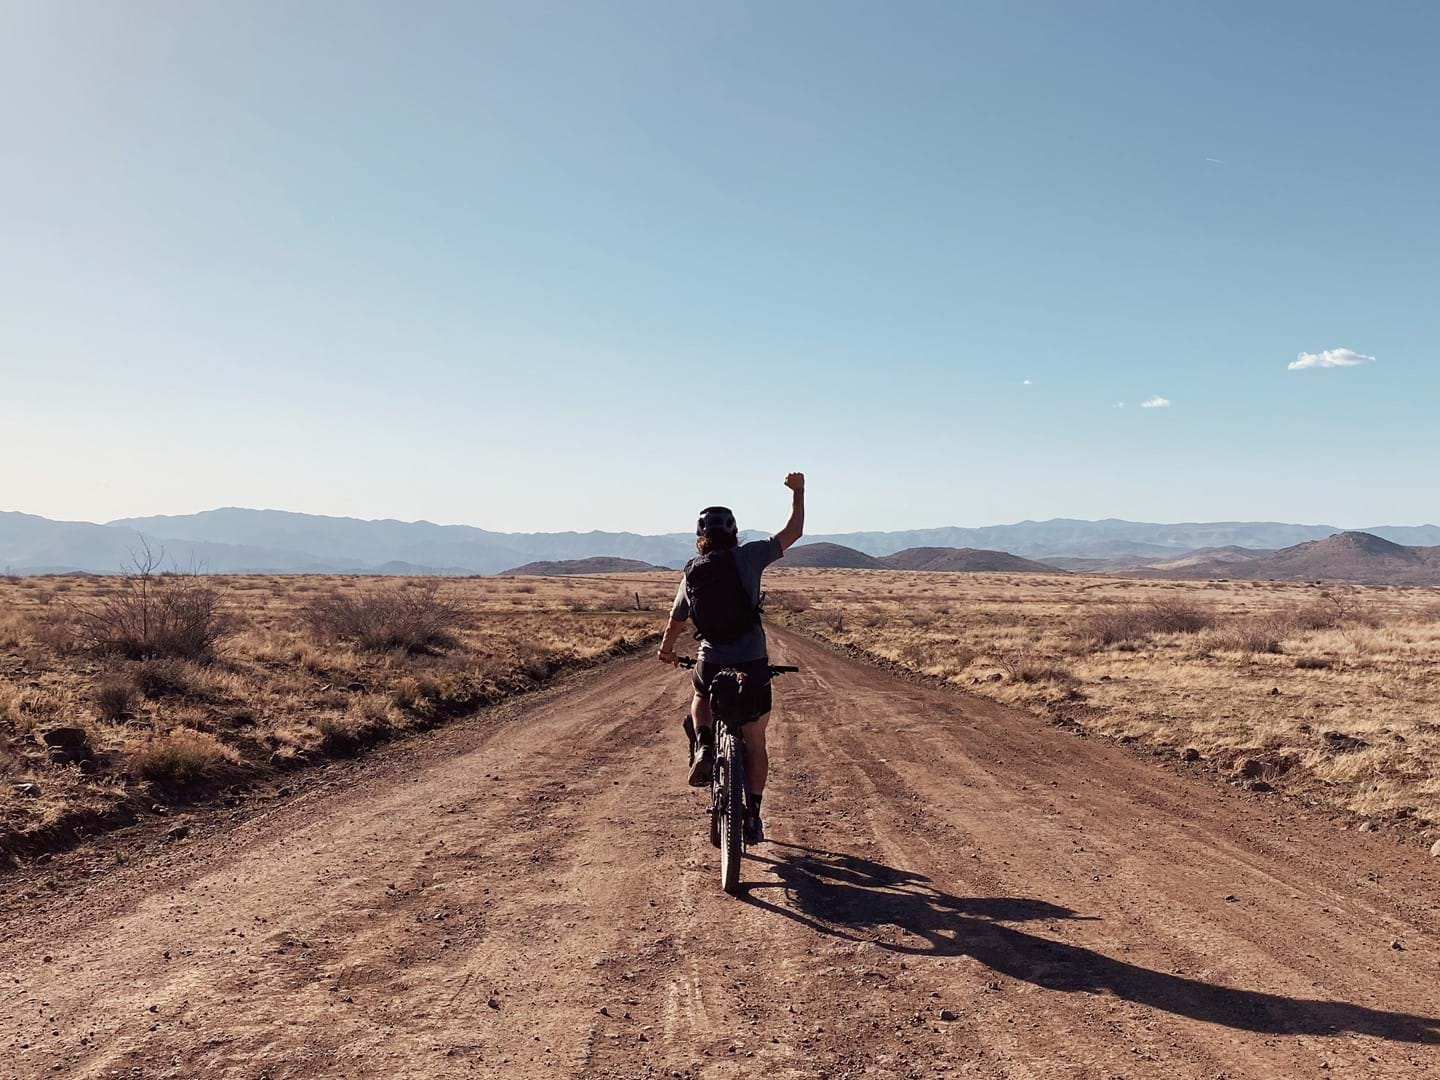
The easiest way to start bikepacking is to use the bike that you already have. Pick an adventure that will last one to two days, attach some bags and equipment to your bike, and away you go! That’s the essential spirit of bikepacking. But even we have to admit, it’s easier said than done.
Bikepacking: how to get started?
The easiest way to start bikepacking is to use the bike that you already have. Pick an adventure that will last one to two days, attach some bags and equipment to your bike, and away you go!
That’s the essential spirit of bikepacking. But even we have to admit, it’s easier said than done.
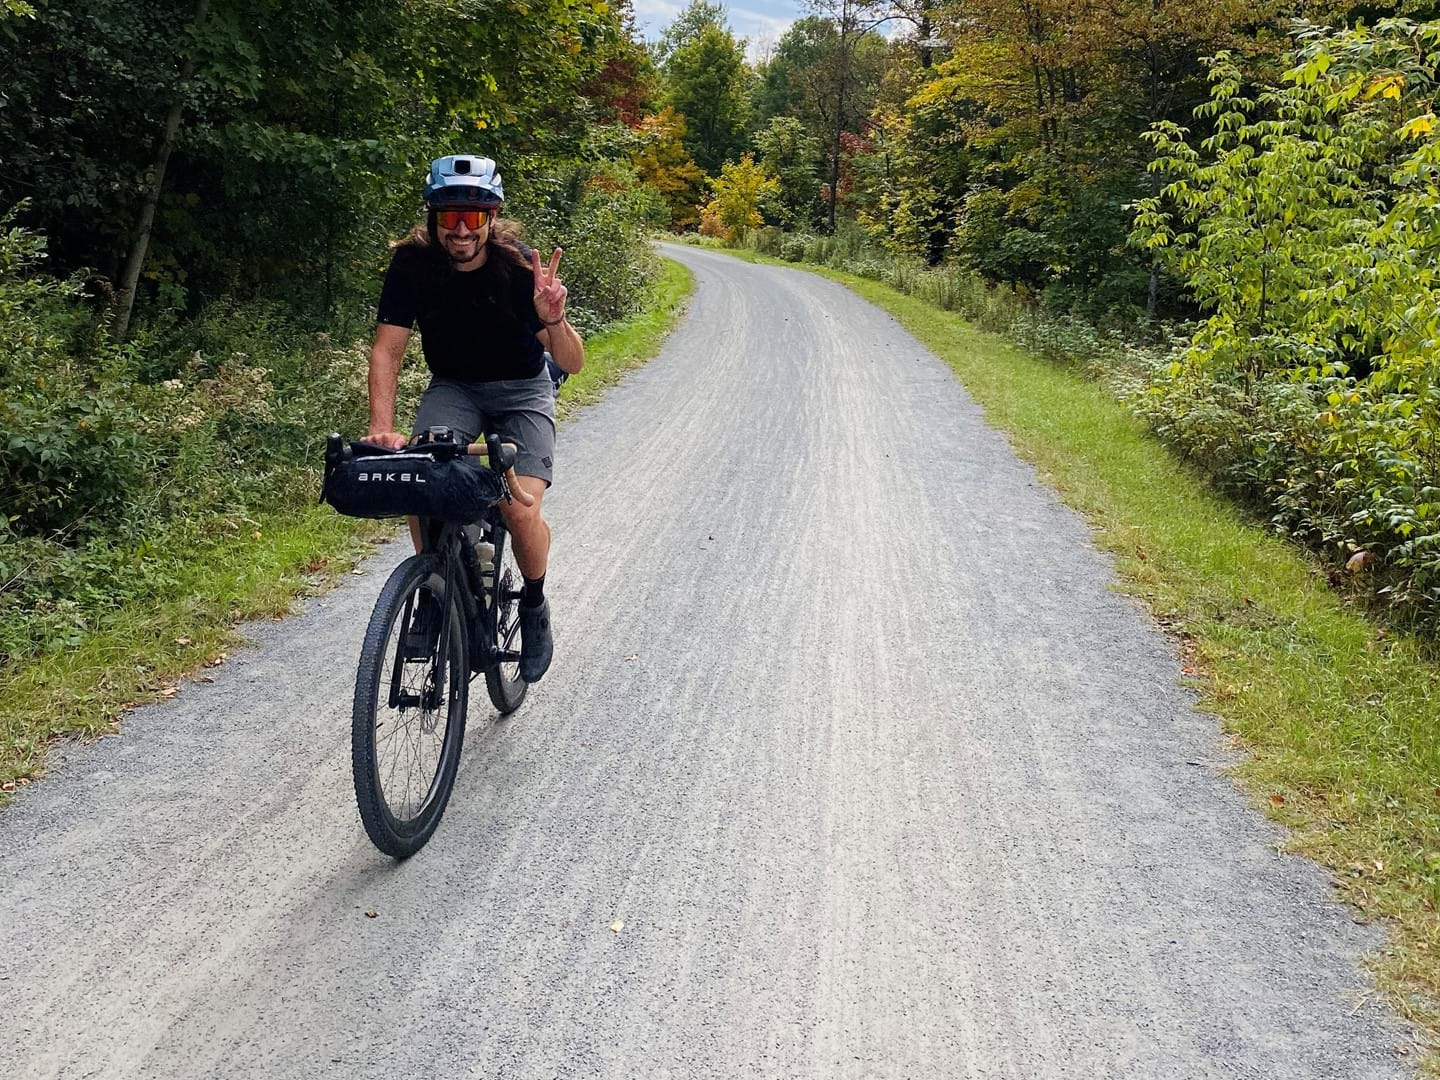
These kinds of adventures can be made much more pleasant with some well-chosen equipment, a well-designed bike, and a well-conceived plan.
To lay a solid foundation for your bikepacking practice, why not start with a ready-to-camp trip or a night at a motel?
What kind of bike for bikepacking?
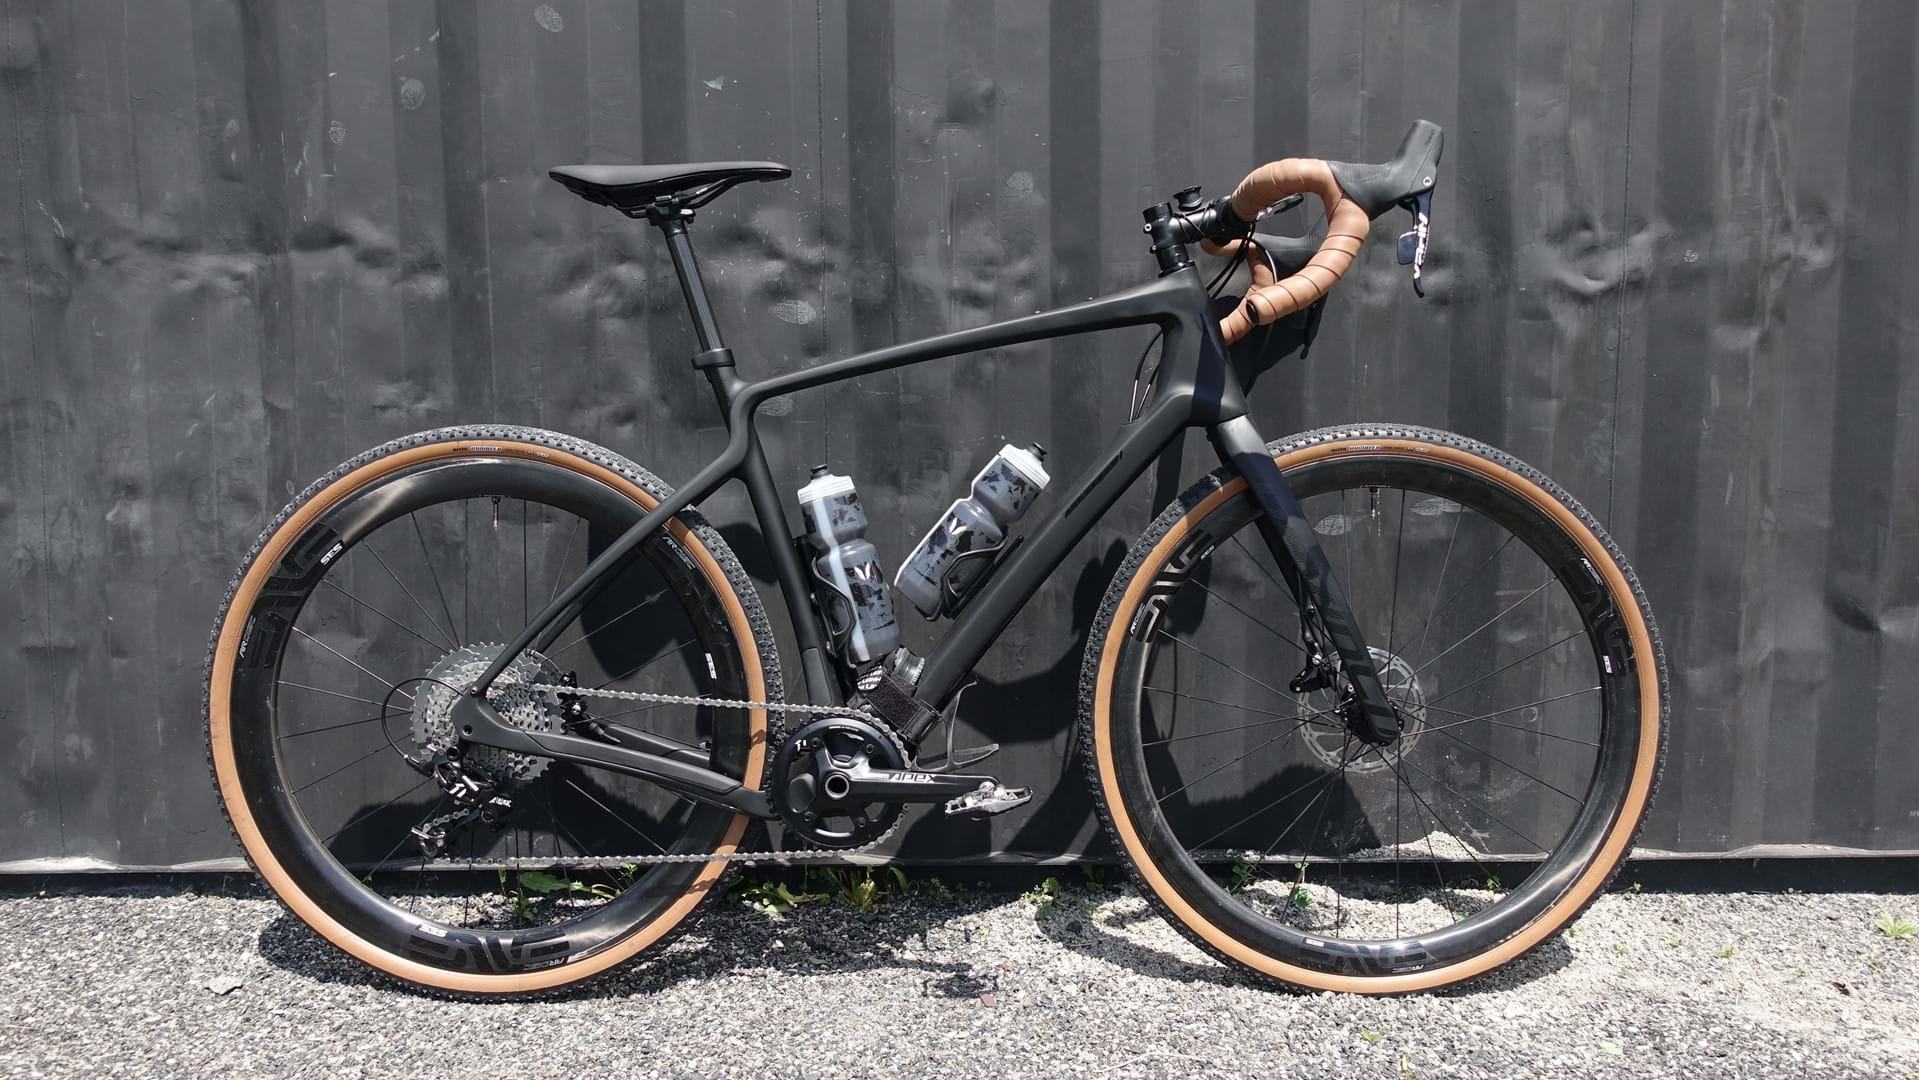
Devinci’s resident adventure machine is the Hatchet G-Spec. Offered in aluminum or carbon, you’ll find plenty of anchor points on the frame to attach water bottle cages, bags, and other bikepacking accessories. You can, for example, add a rear bag rack and front and rear mud guards.
The MTB-inspired frame makes the G-Spec a fun and comfortable bike with which to attack the most aspirational roads and trails and the most thrilling adventures. The frame is also designed to be compatible with a retractable seat post. You can also go overboard on tire size since the Hatchet takes, at a minimum, 45mm tires, or even 50mm in some cases.
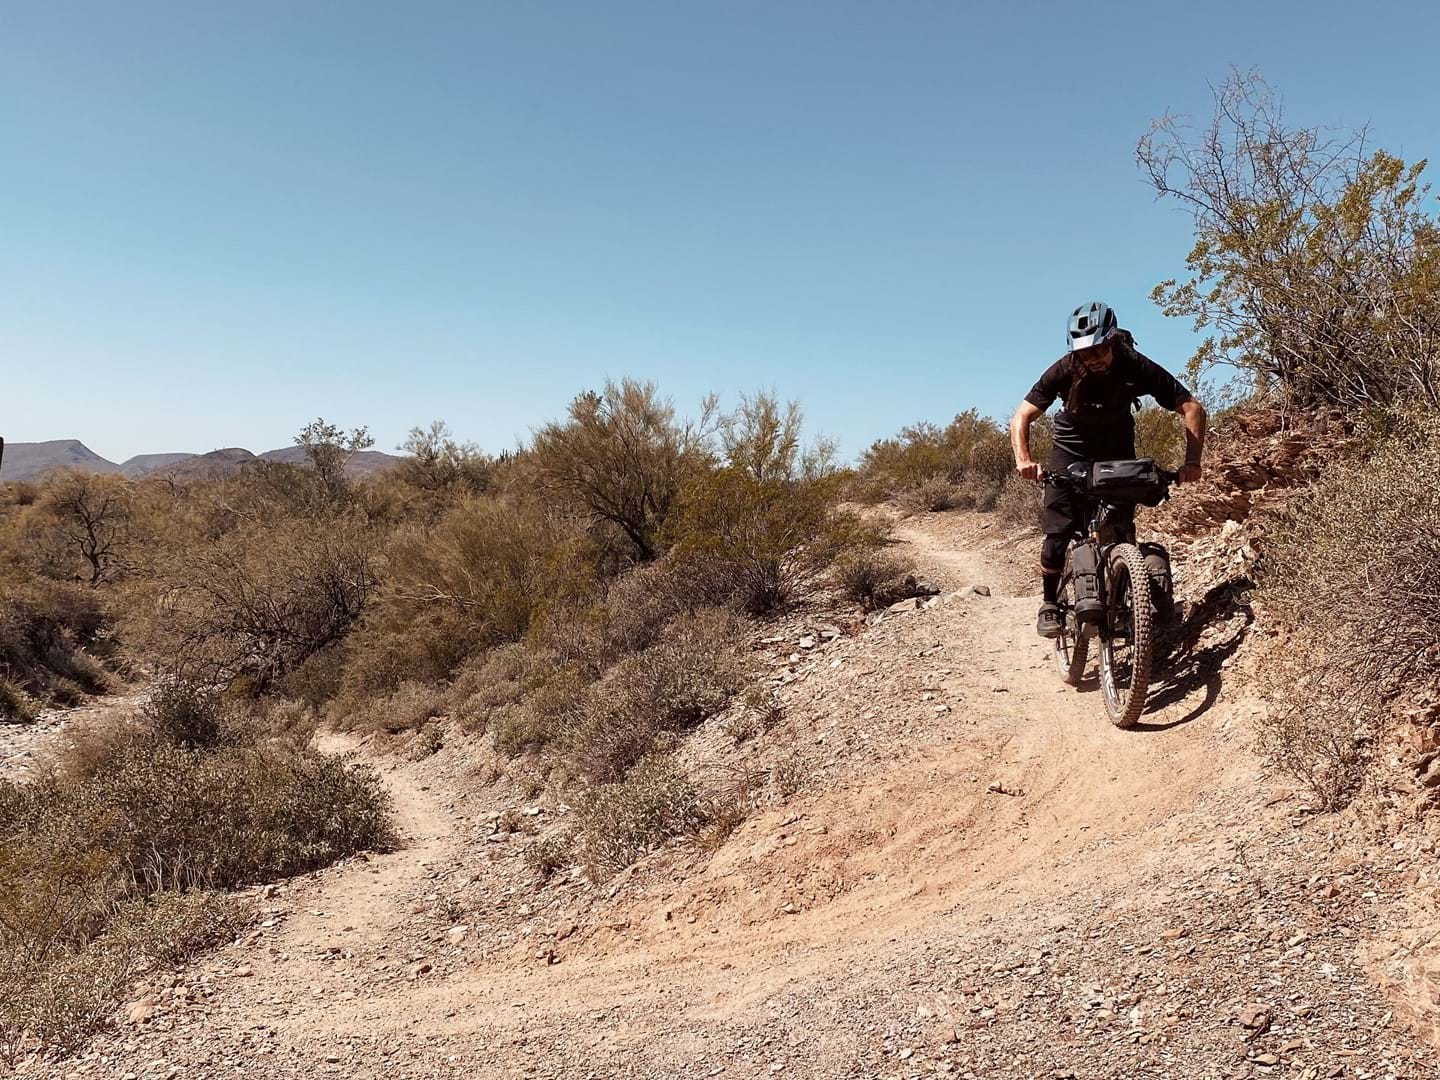
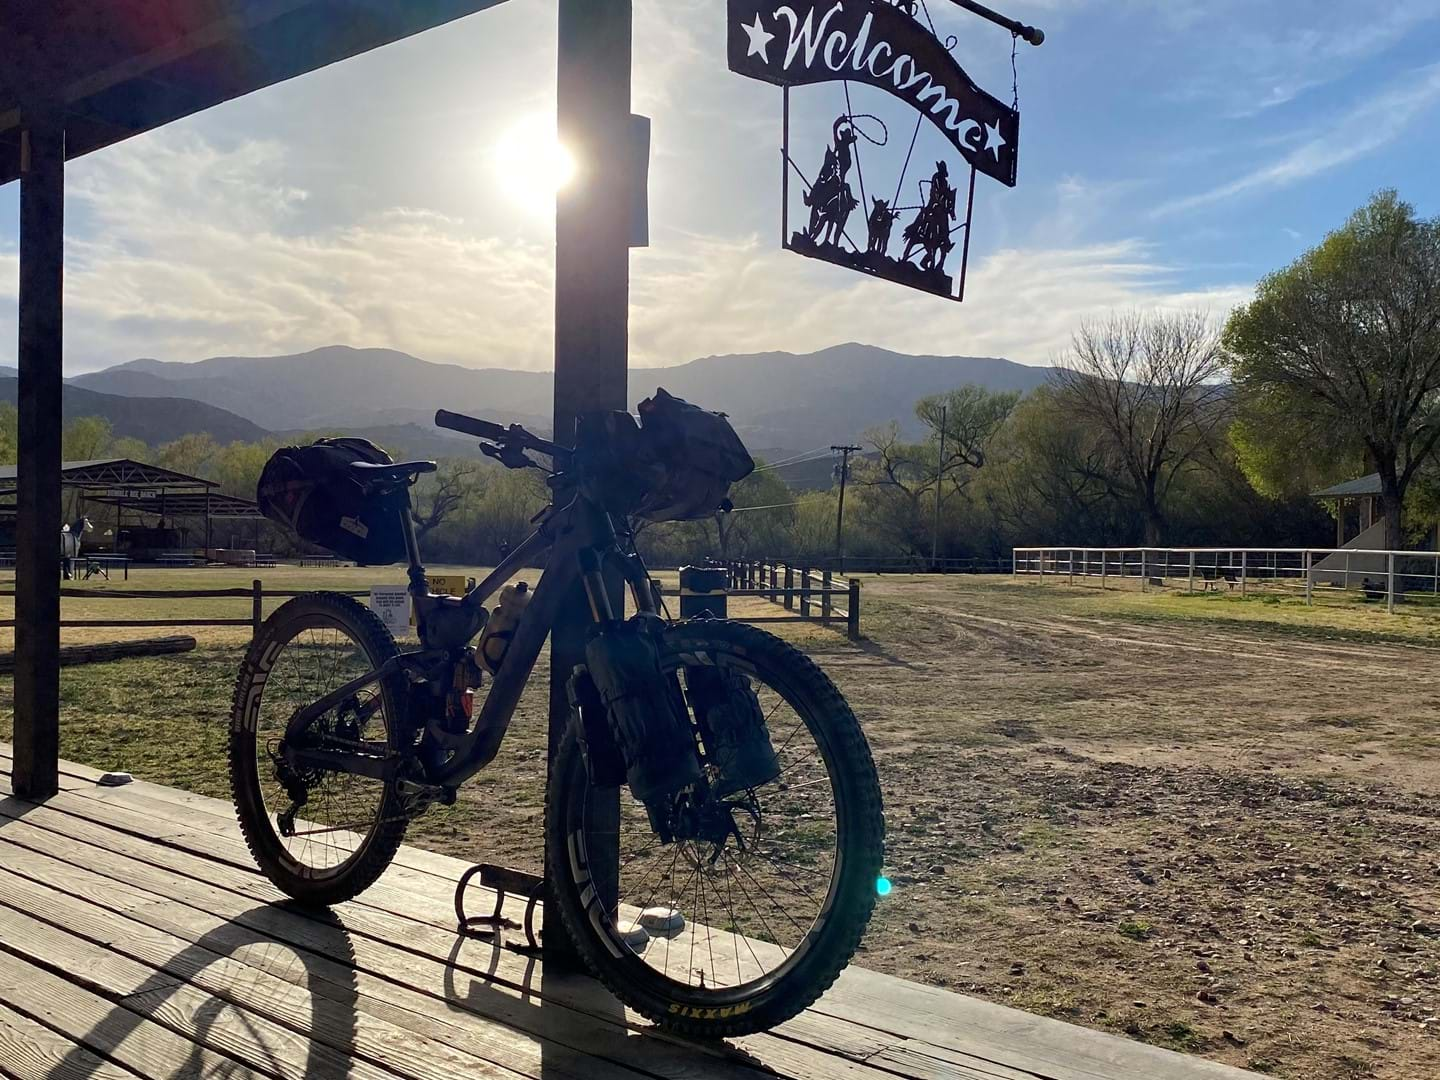
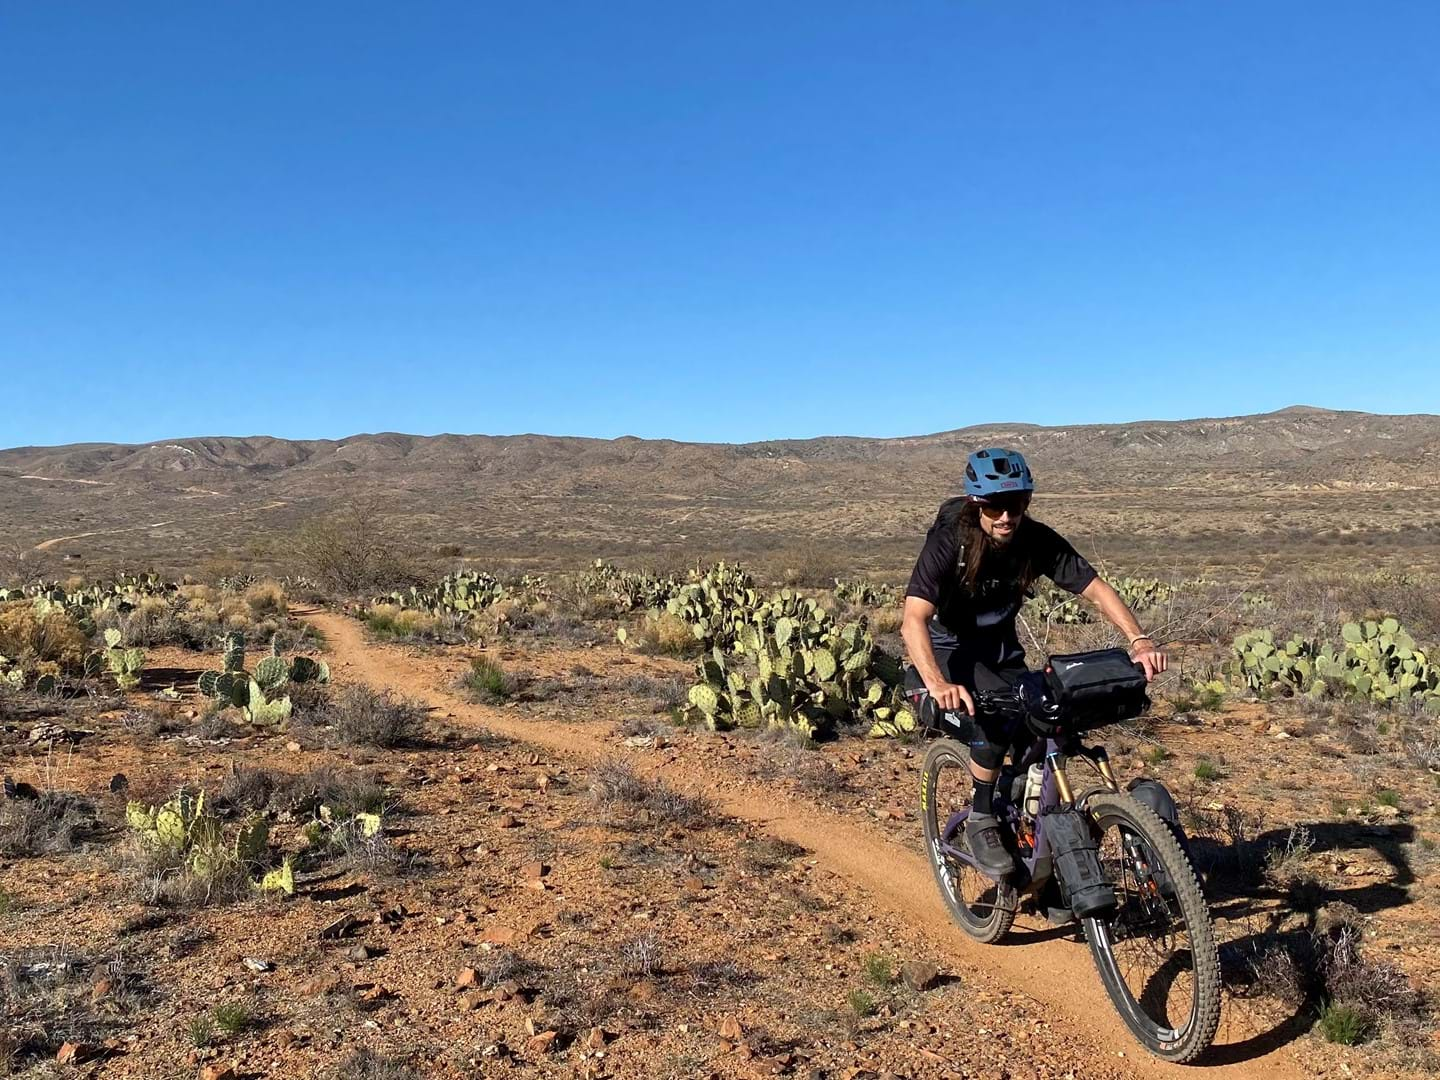
If you’re hoping to head out onto tougher adventures, you can also opt for one of our mountain bikes, like our friend Dominick Ménard did with his Troy. By adding saddle bags and handlebar bags, as well as adapters to the fork to carry more goods or even water, anything is possible.
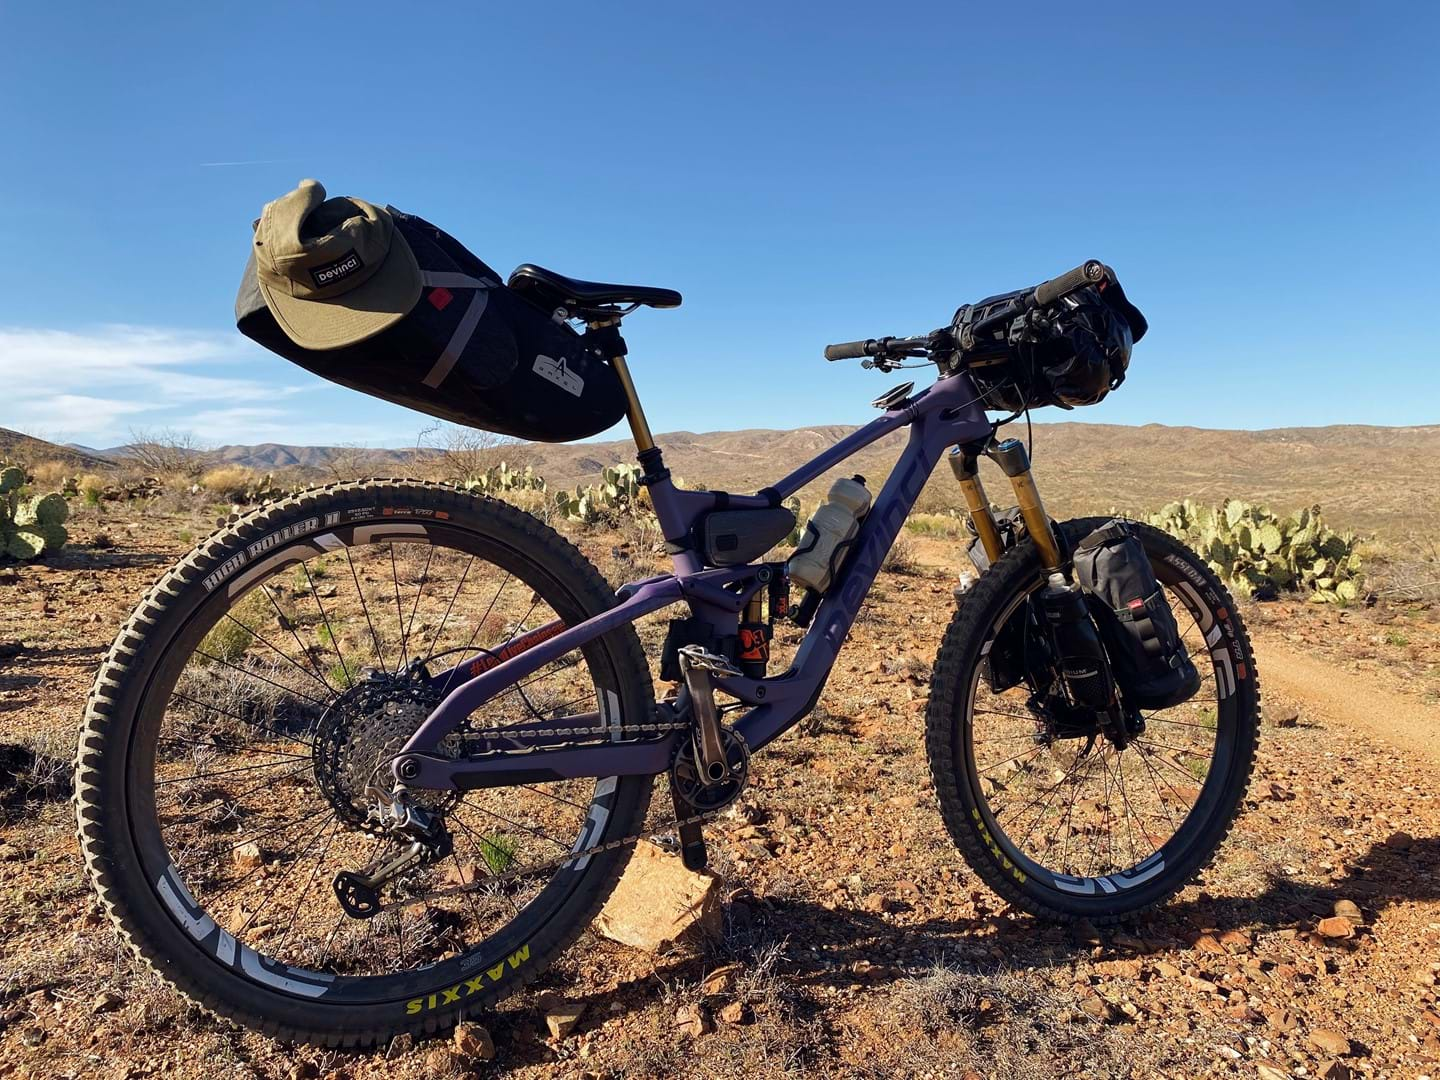
The Kobain, Devinci’s hardtail trail bike, is also a solid choice for backcountry adventures thanks to its front suspension. The Canadian-made aluminum hardtail frame allows for a maximum of material without compromising the movement of the rear triangle.
What to take on a bikepacking trip?
Your bikepacking needs will vary depending on the length and the location of your chosen adventure. The availability of food and water along your course will also be a major deciding factor.
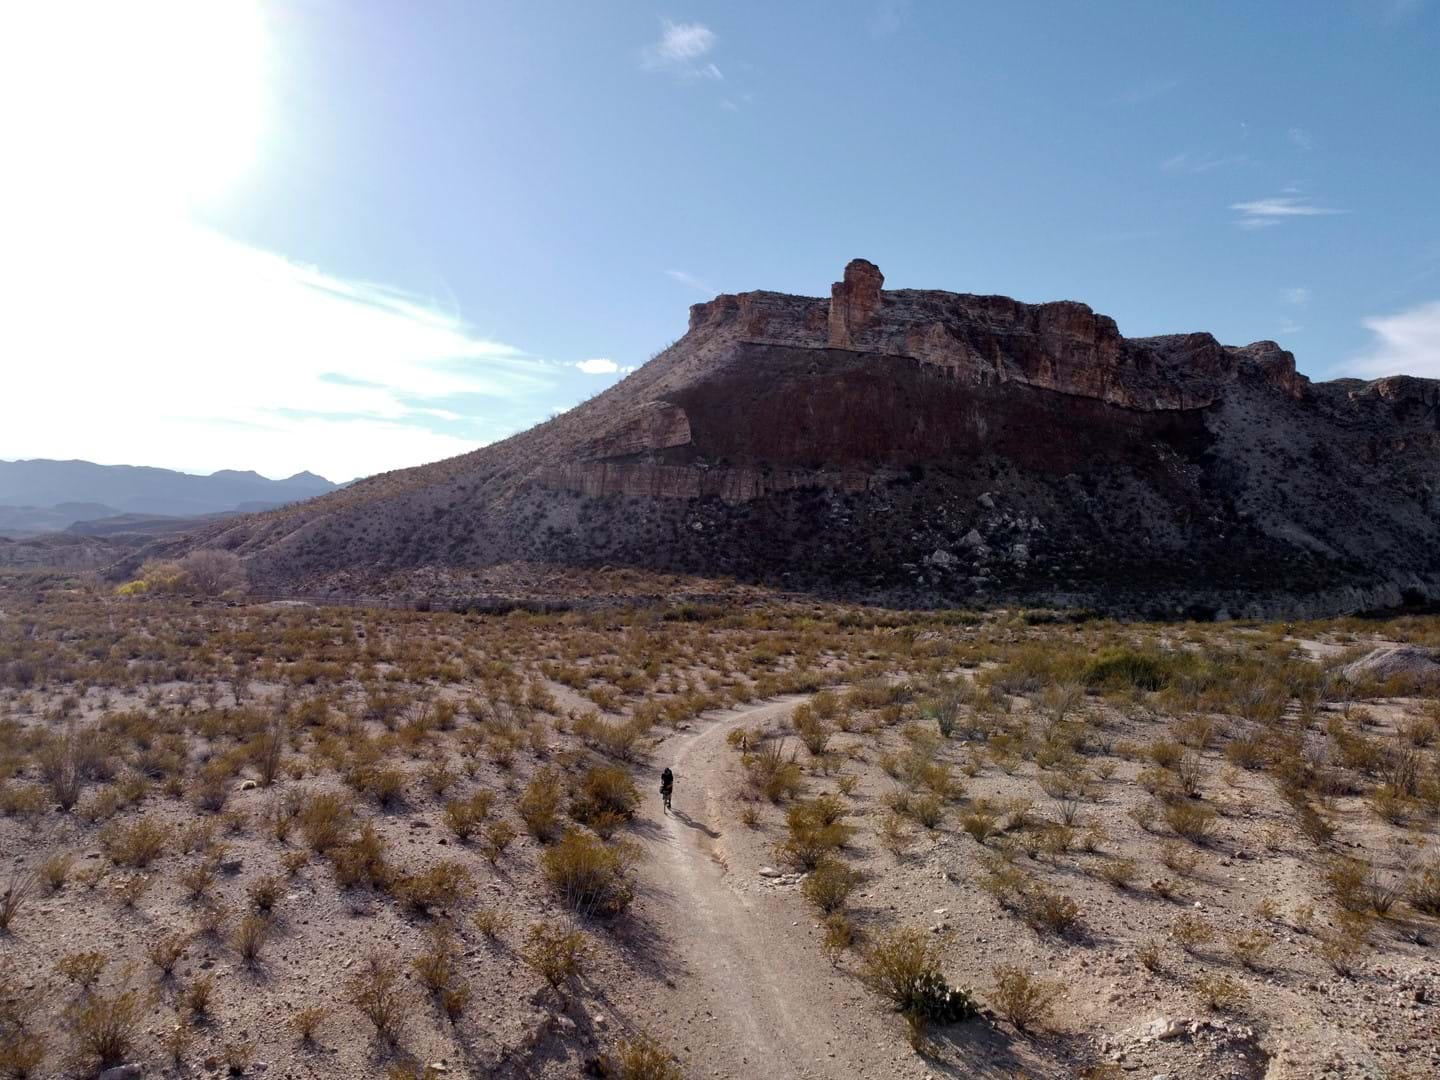
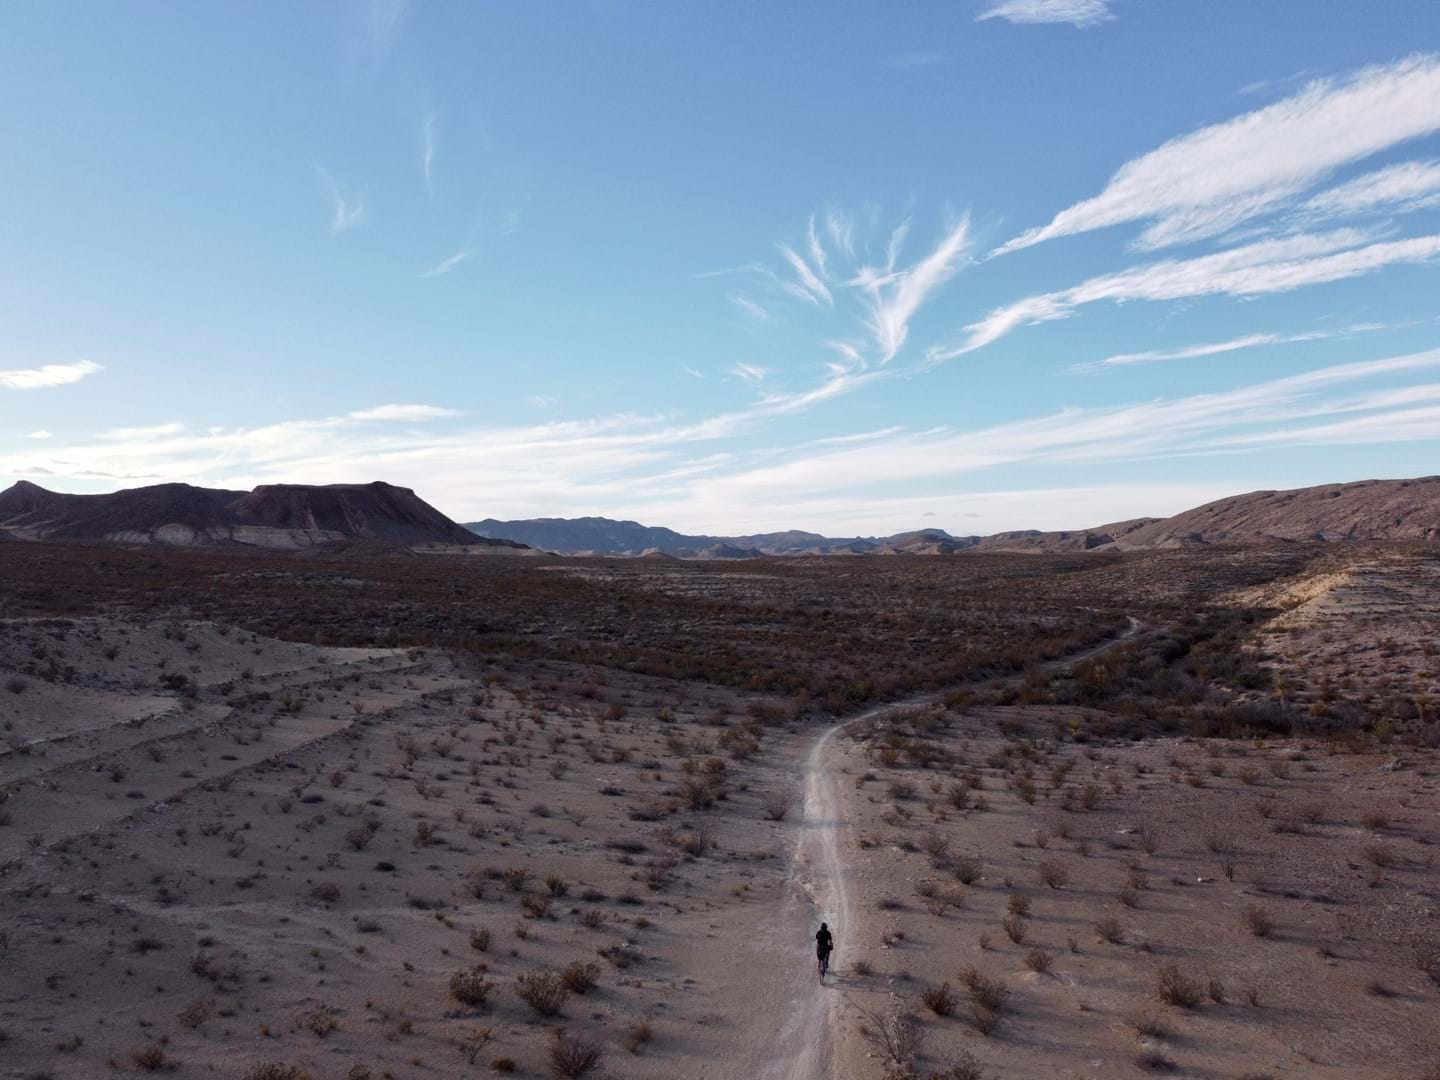
Obviously, if you’re riding in the desert, you’ll need to bring a large quantity of water so that you don’t run dry which can be very dangerous.
Ideally, you should plan on 500ml to 1000ml of water per hour. So crack out the calculator to figure the quantity of water you will need to carry with you between watering holes!
Remember: when in doubt, never forget your water filter!
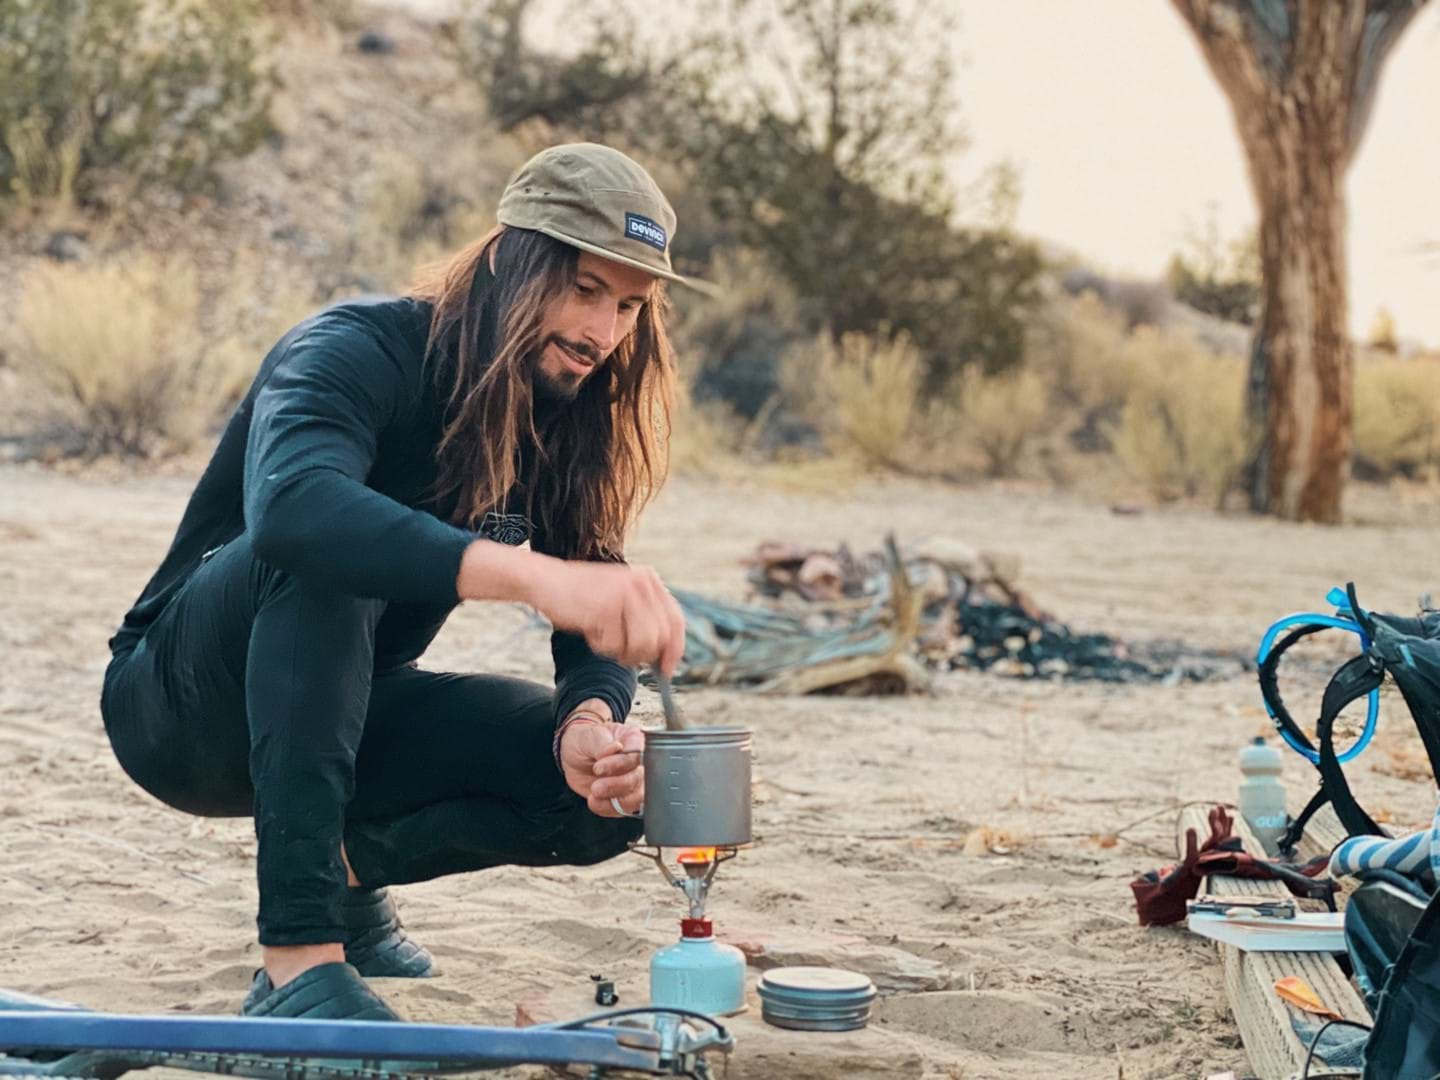
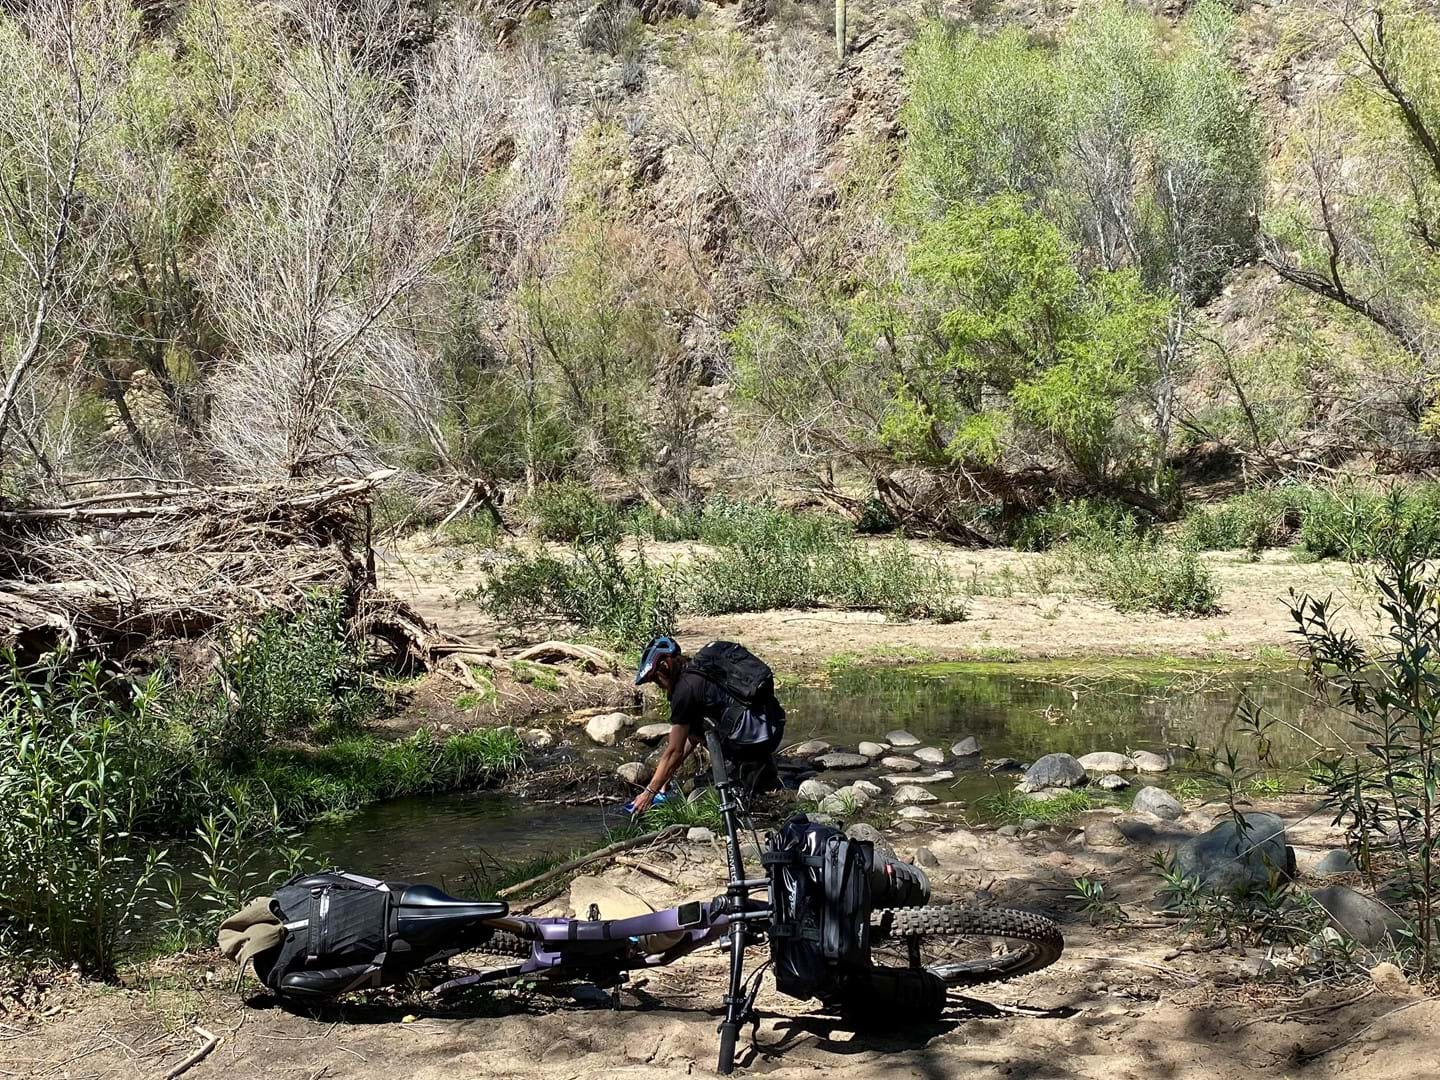
If you’re heading into the deeper corners of the national parks or other nature reserves in Canada or the United States, you should also plan on bringing an appropriate supply of food.
Even if you’re traveling in more populated areas, it’s still worth planning your stops in advance and checking the store hours of opening.
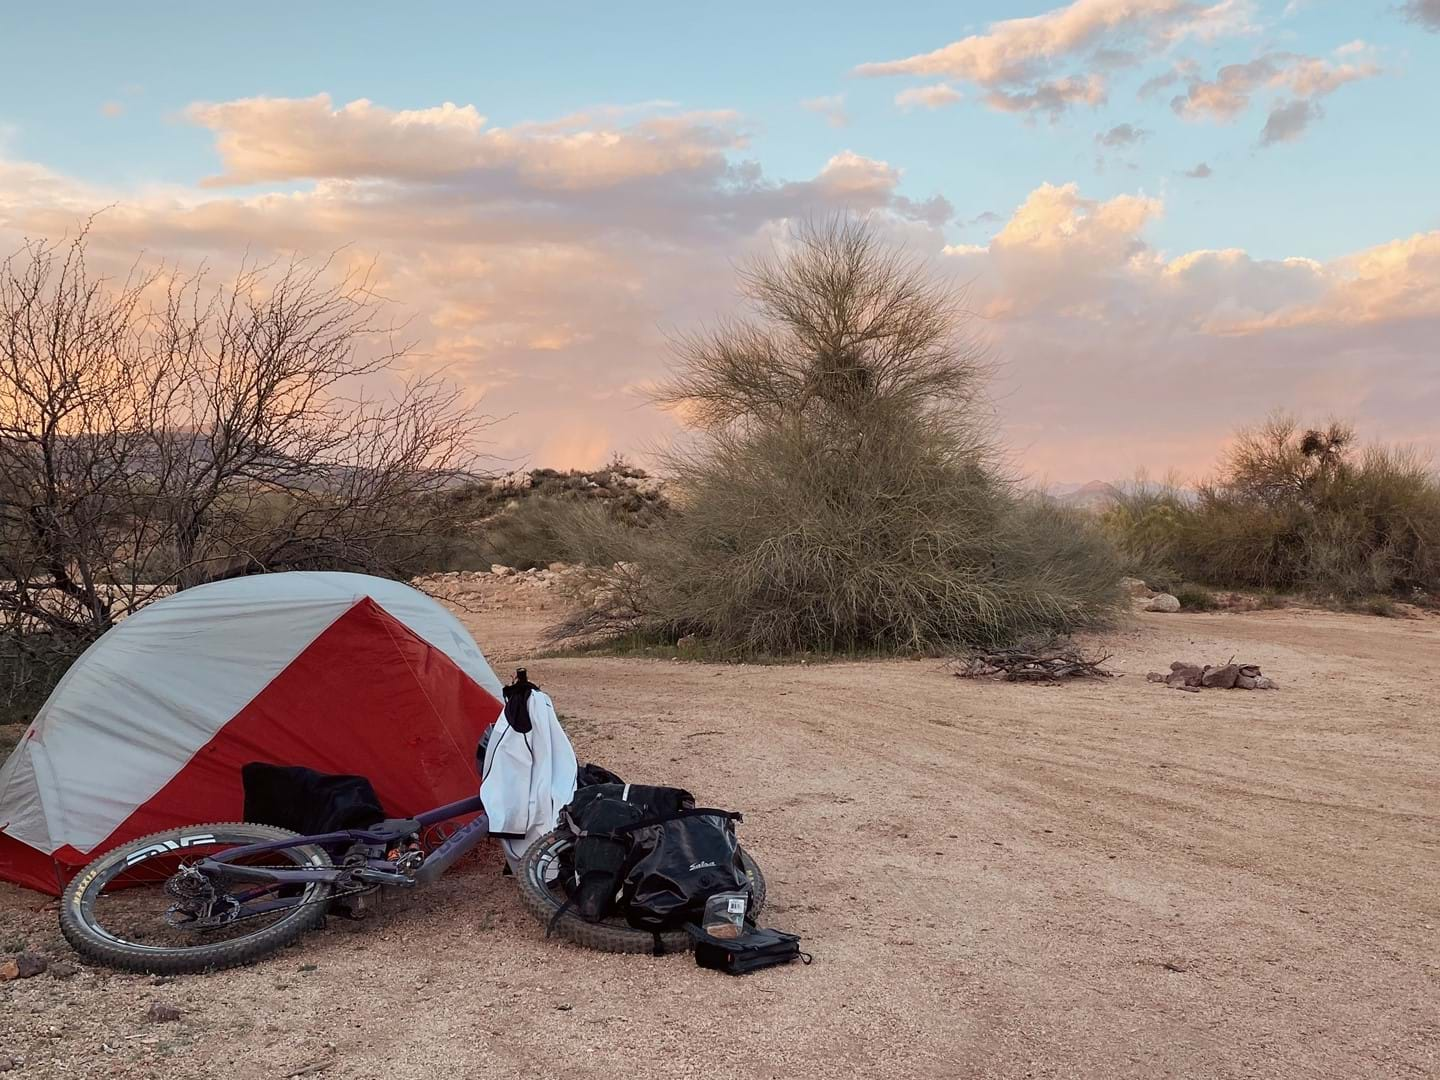
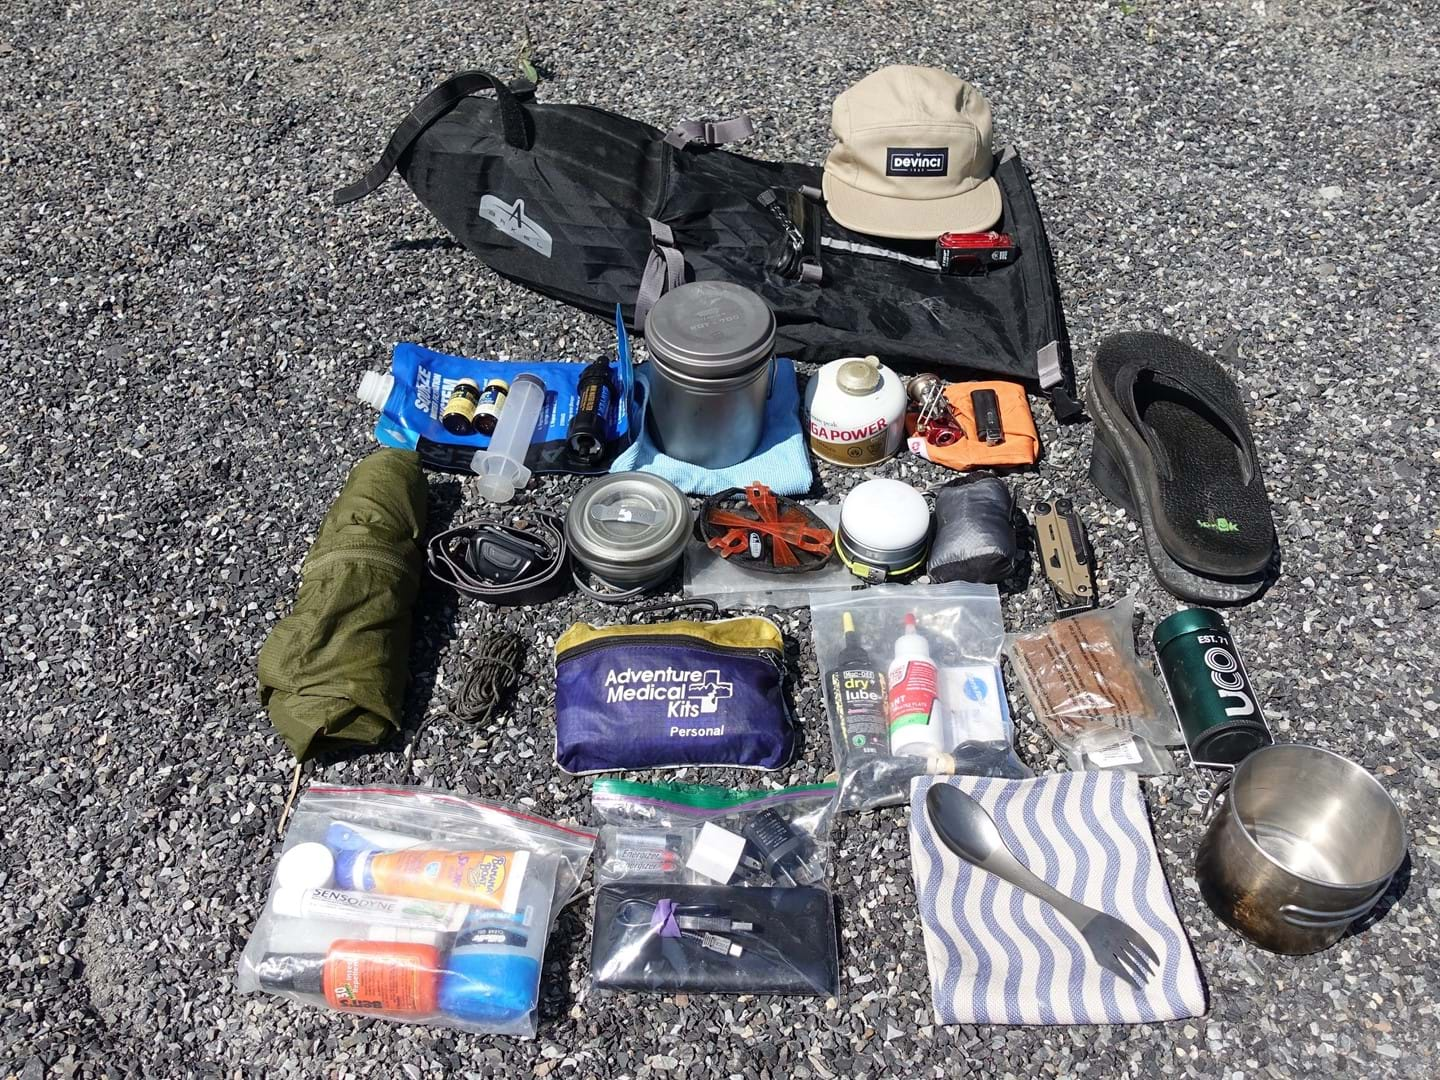
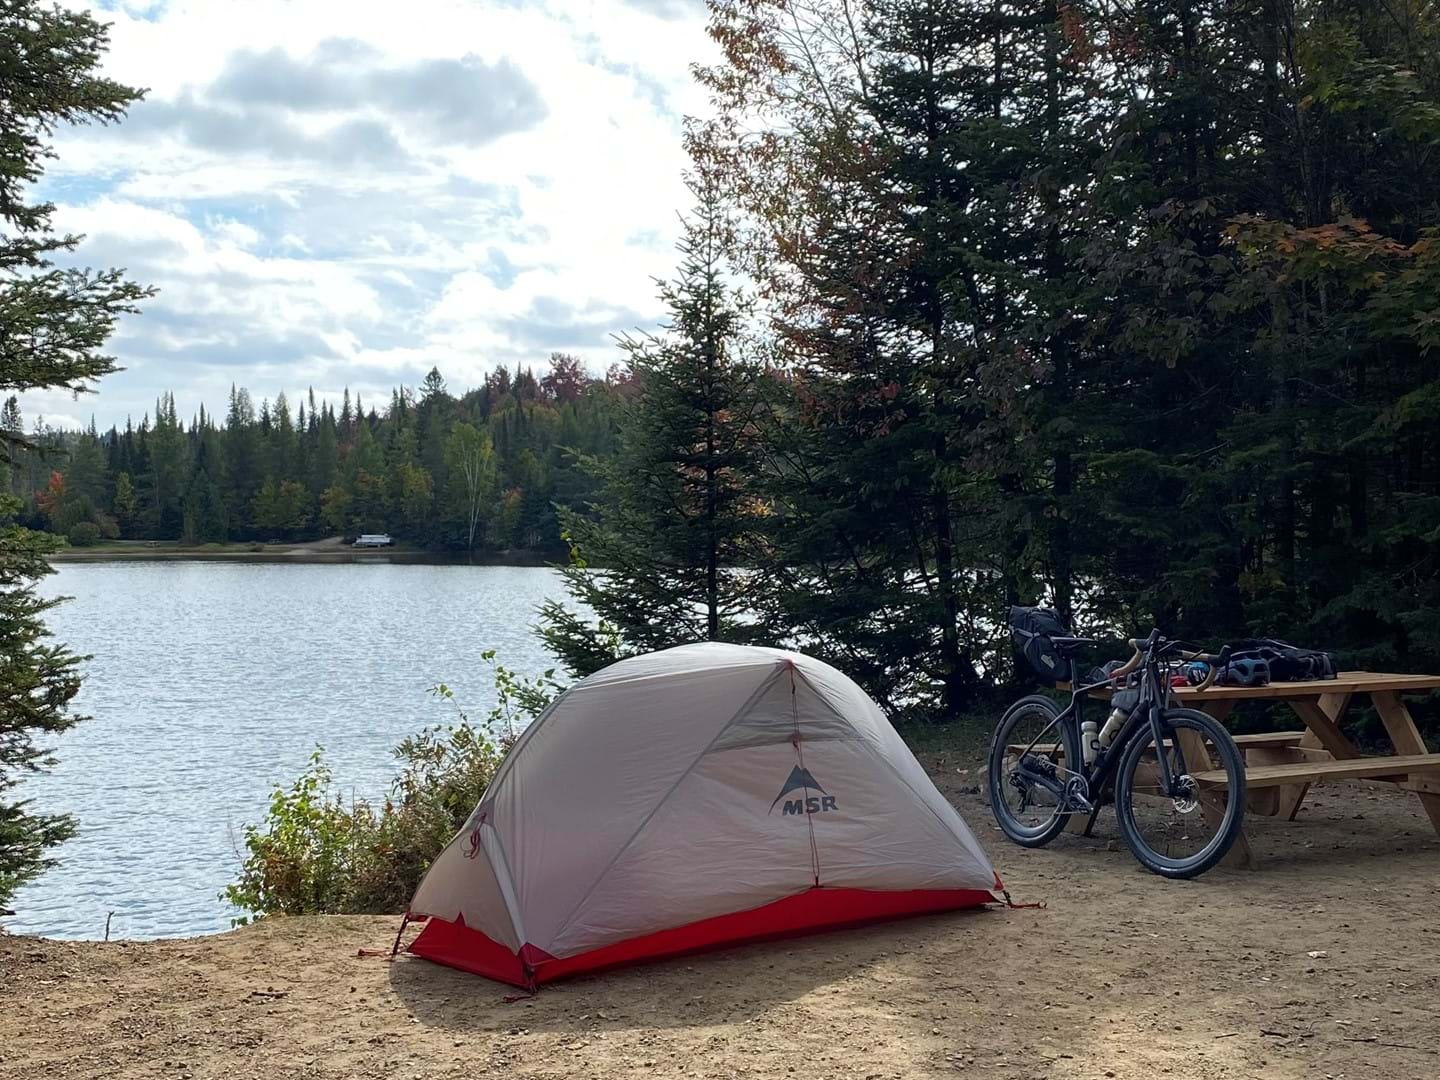
Of course, you’ll need a tent, a bivy sack, or a hammock, as well as a sleeping bag, potentially a ground cover or sleeping pad, and all the necessary equipment for your camp.
Since space is limited, it’s better to use the lightest and most compact materials possible.
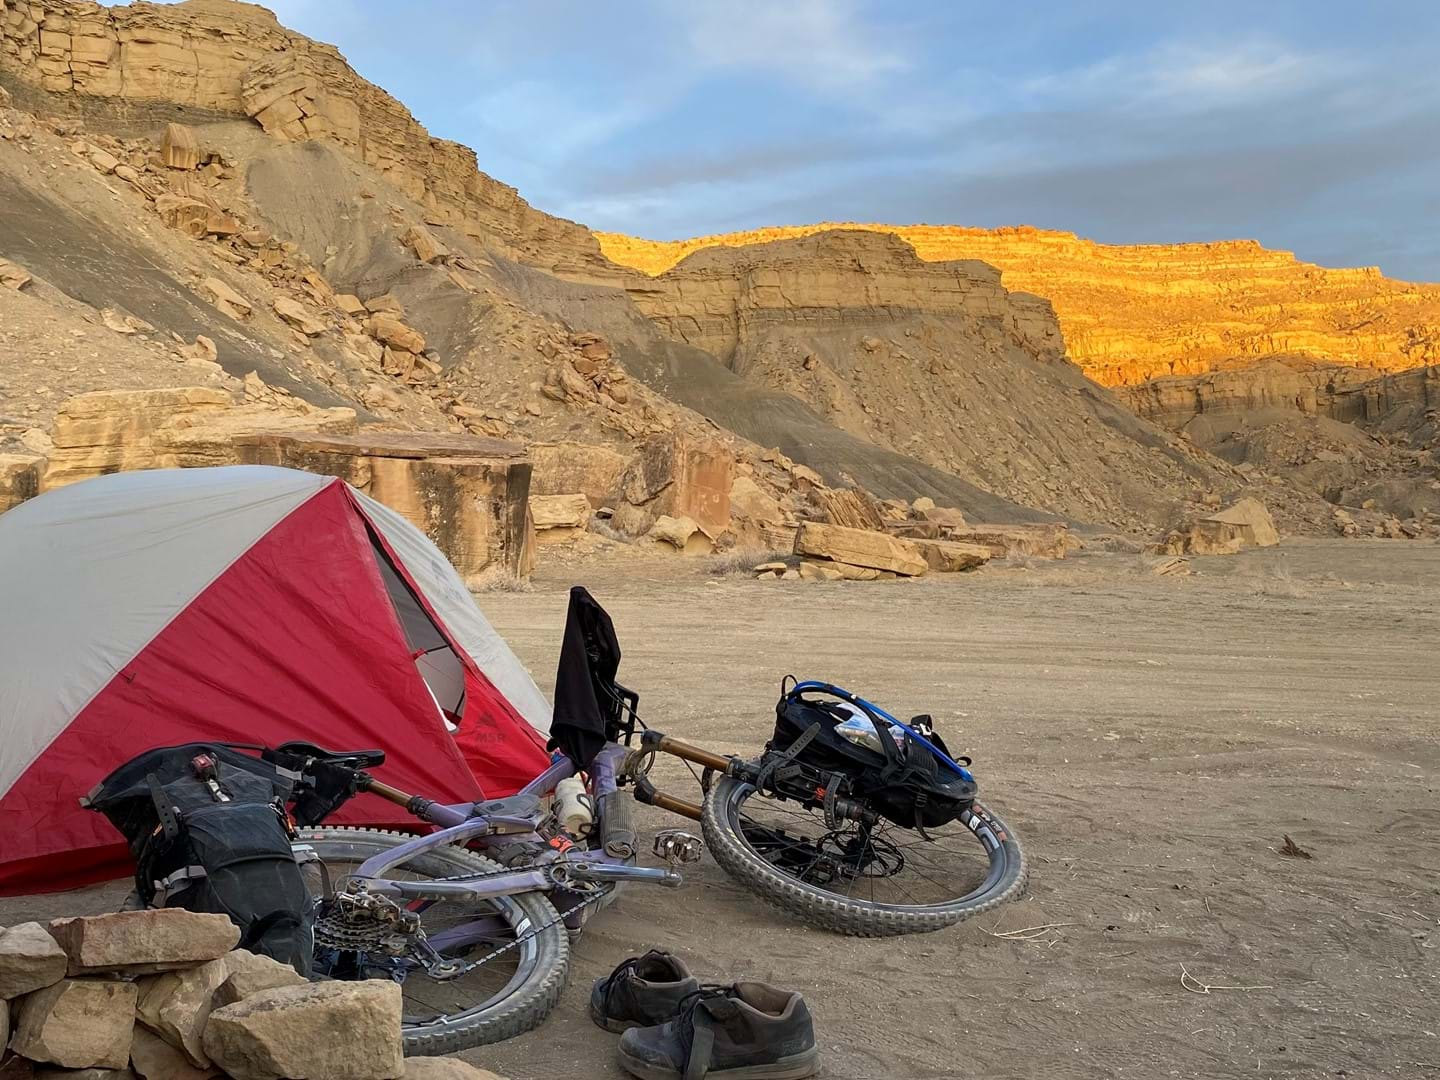
What to pack?
Camp
- Sleeping bag
- Headlamp
- Rope
AND
- Ground pad
- Tent poles
- Tent
OR
- Hammock tent
OR
- Bivy sack
Food
- Water filter
- Lighter or matches
- Knife
- Cup or mug
- Plate
- Spork or other utensil(s)
- Compact bowl
- Stove
- Fuel
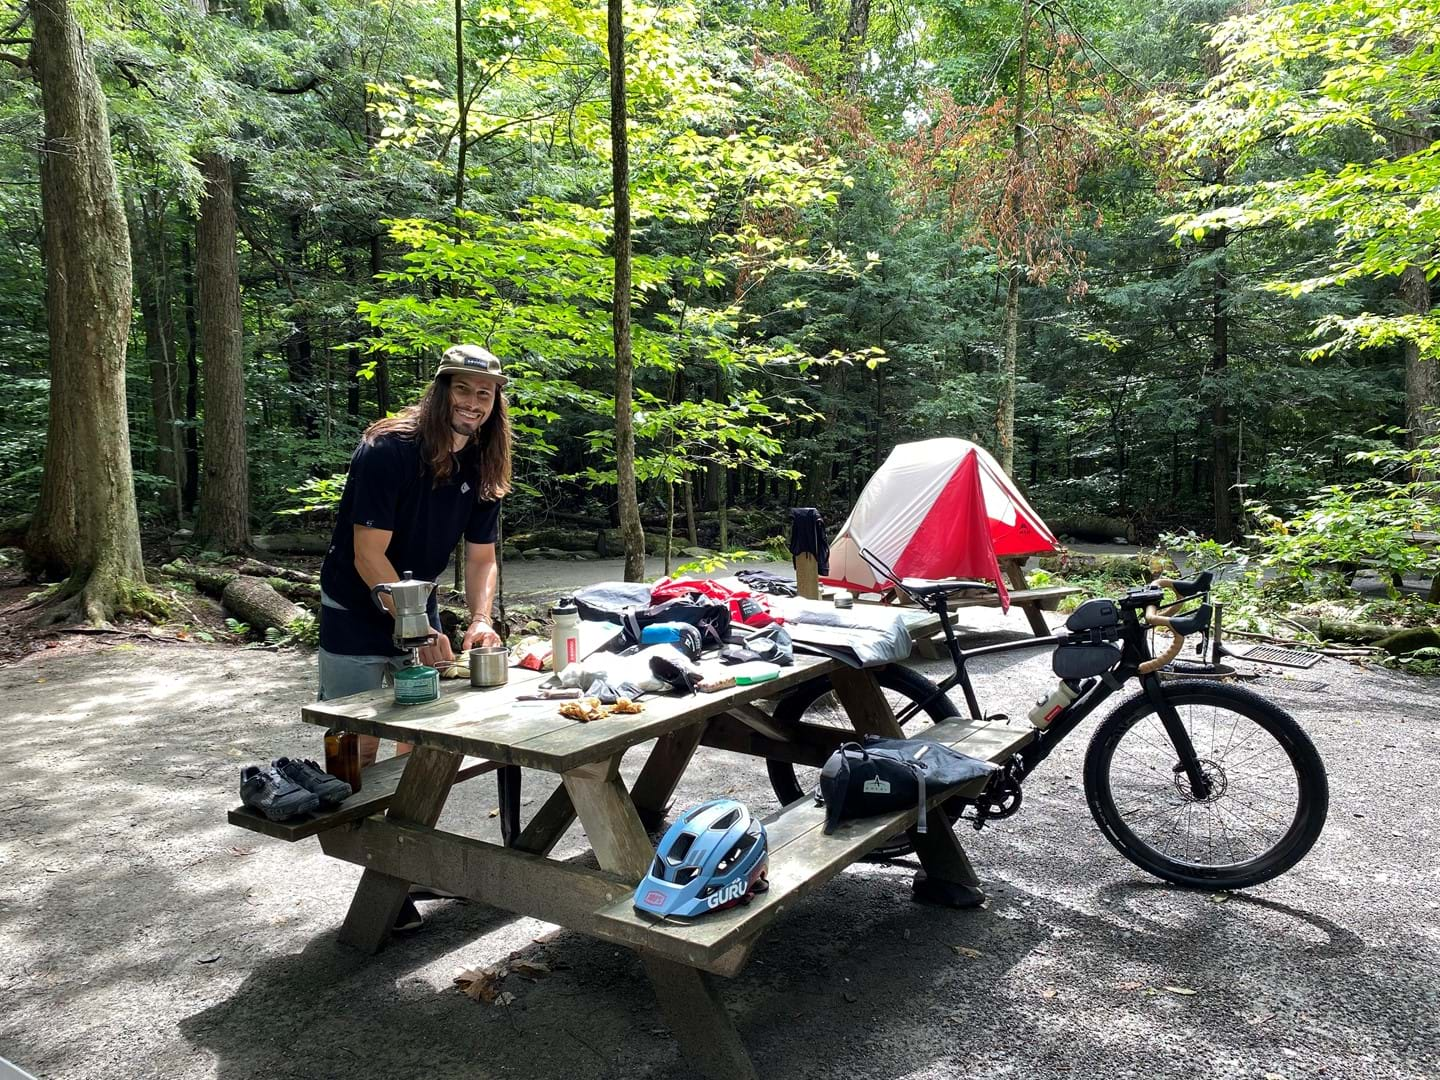
In order to fix any issues which may arise on a longer trip, it’s necessary to have all the materials for repairs. From a torn tire to a major mechanical problem, or even just to be able to repair your clothes or other materials, it’s a good idea to bring a few well-selected tools.
Mechanical
- Tubes
- Puncture repair kit
- Tire repair kit
- Tire levers
- Presta-Schrader adapter
- Ties/fasteners (ex. zip ties)
- Gorilla Tape or duct tape
- Chain links
- Screws or other hardware
- Multi-tool
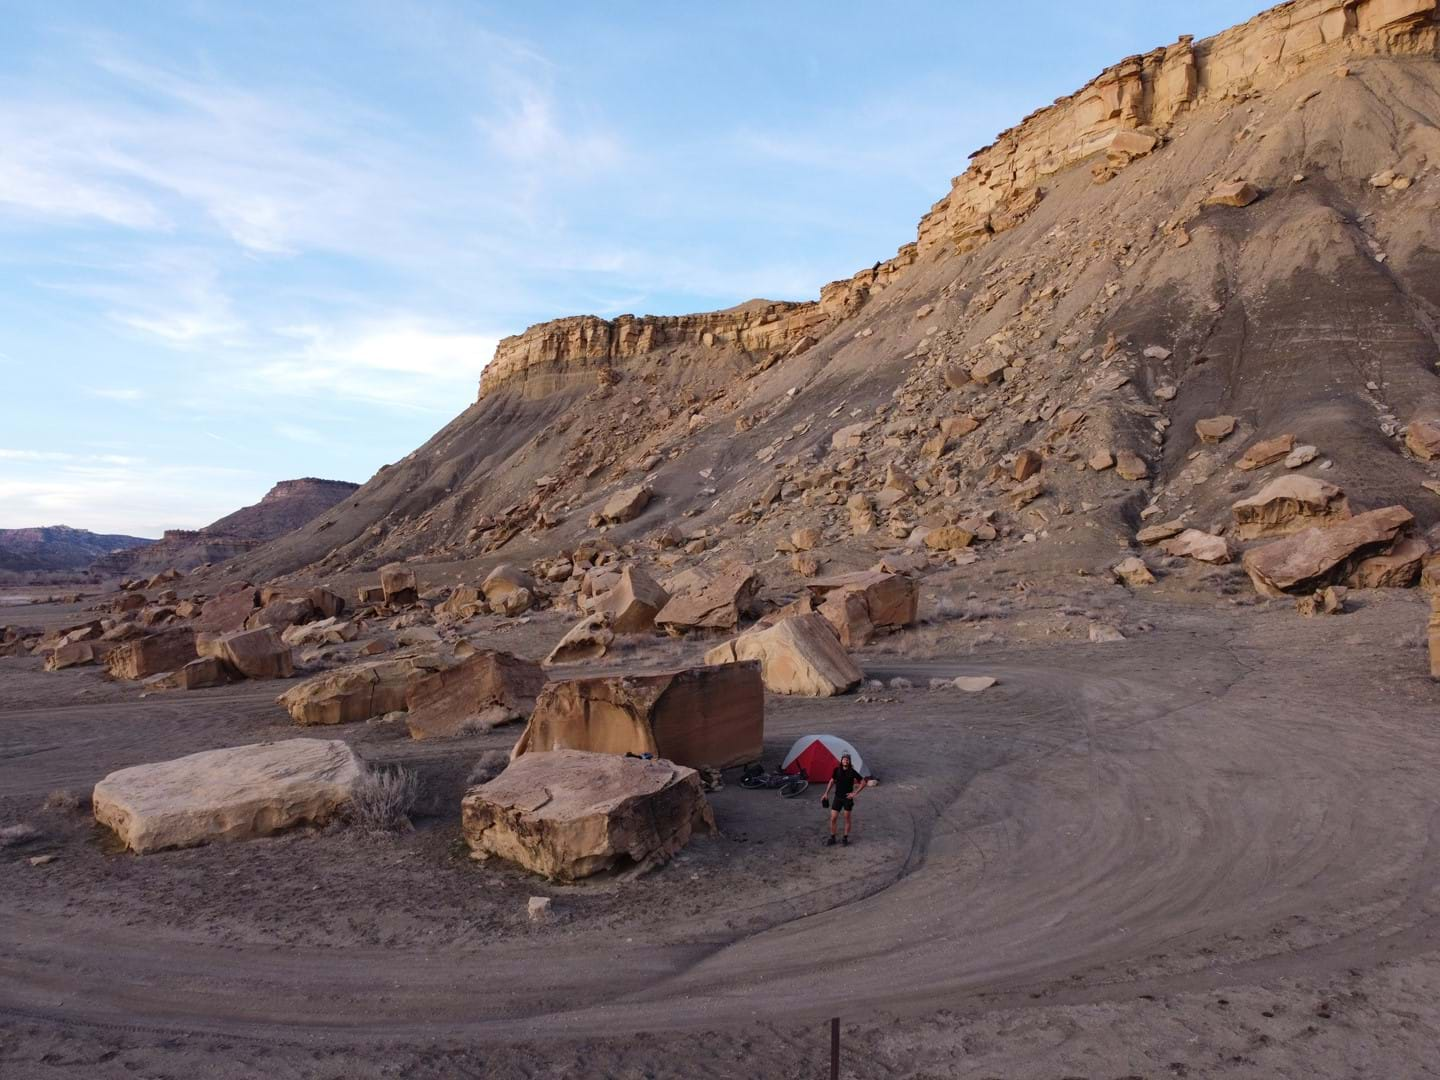
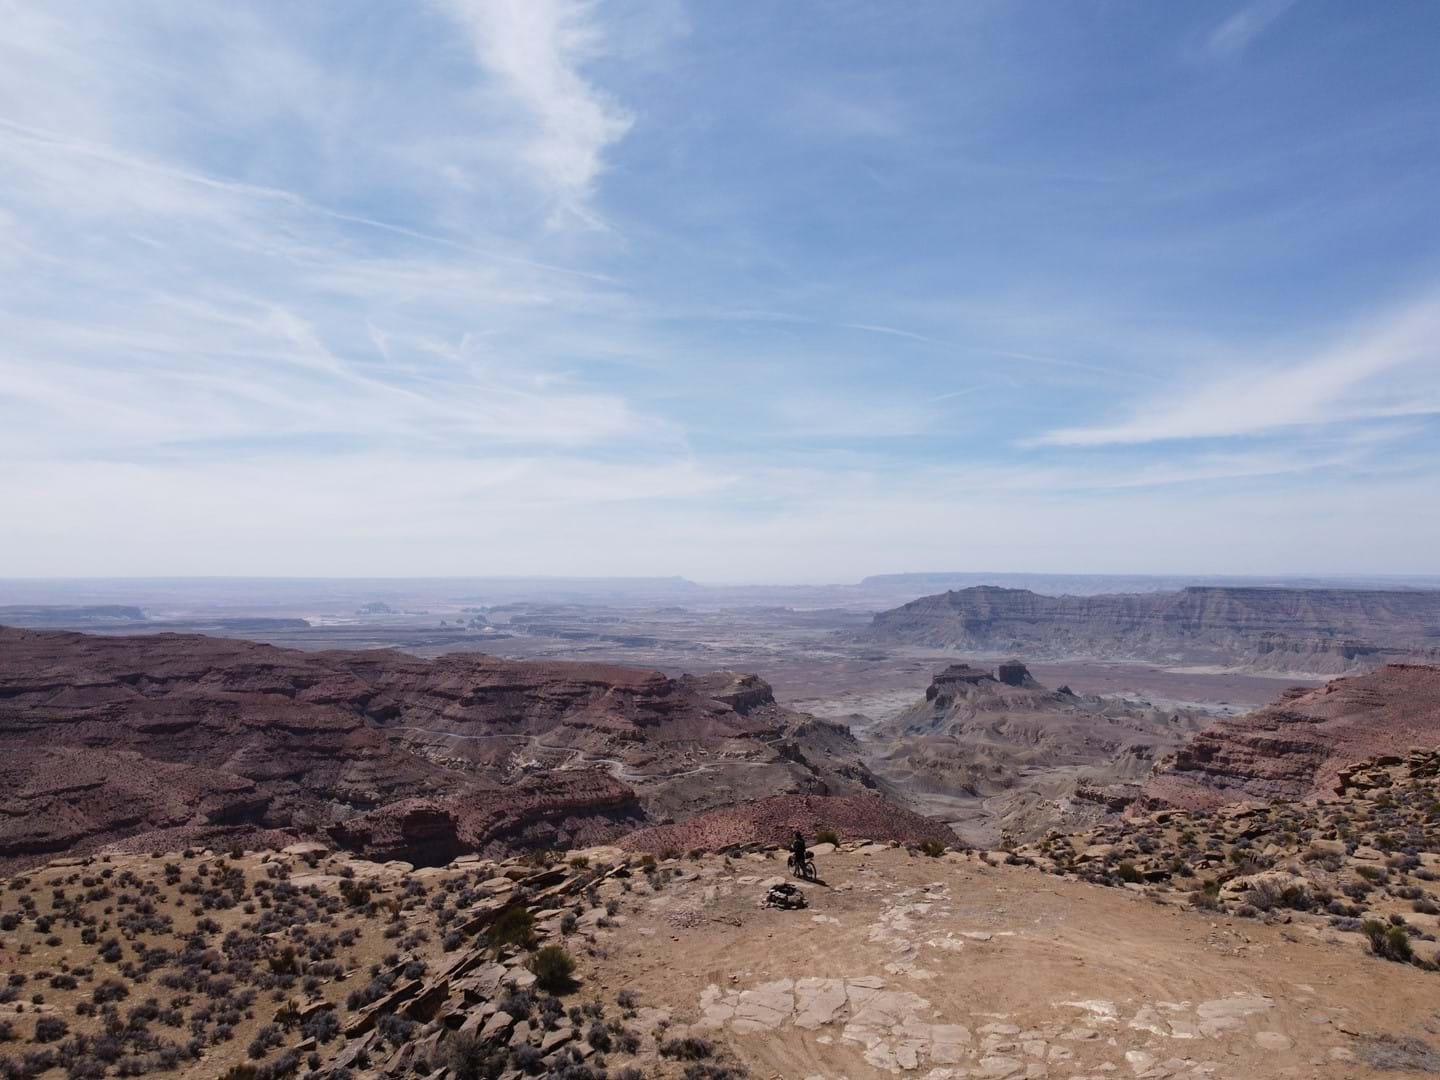
It’s also a good idea to bring with you a small first-aid kit as well as a few items to maintain your personal hygiene in order to stay as comfortable as possible.
Hygiene
- First-aid kit
- Any medications you take
- Sunscreen
- Toothbrush
- Toothpaste
- Toilet paper
- Bug repellent
- Soap
- Towel
And don't forget the essentials!
Tech
- Portable charger
- Charging cables
- Cell phone
- GPS unit
- GPS satellite (for off-the-grid adventures)
Summer clothes
- Water-repellent shell or jacket
- Cycling shorts
- Cycling jersey
- T-Shirt
- Merino base layers
Spring or fall clothes
- Merino wool clothing
- Puffer jacket (down jacket)
- Neck gaiter
- Insulated booties
- Leg/arm warmers
- Long-sleeve jersey
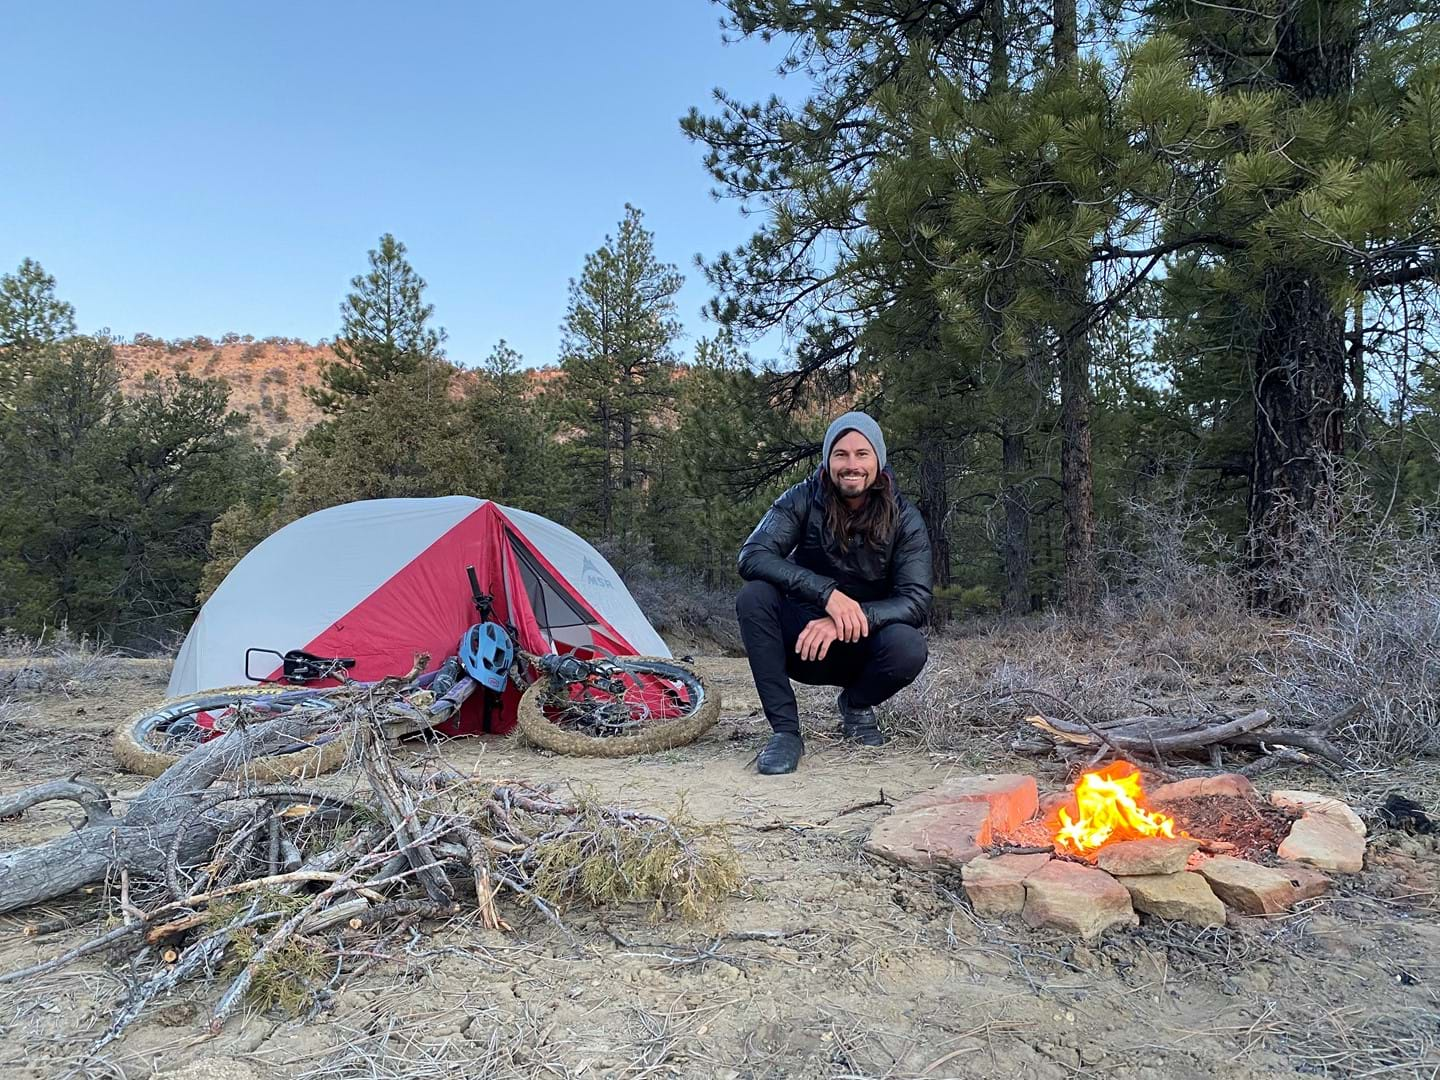
Anything else?
Don't forget your wallet or ID, credit cards, and some cash money.
Complete list
- Sleeping bag
- Headlamp
- Rope
- Tent or hammock or bivy sack
- Water filter
- Lighter or matches
- Knife
- Cup or mug
- Plate
- Spork or other utensil(s)
- Compact bowl
- Stove
- Fuel
- Tubes
- Puncture repair kit
- Tire repair kit
- Tire levers
- Presta-Schrader adapter
- Tie/fasteners (ex. zip ties)
- Gorilla Tape or duct tap
- Chain links
- Screws and other hardware
- Multi-tool
- First-aid kit
- Any medications you take
- Sunscreen
- Toothbrush
- Toothpaste
- Toilet paper
- Bug repellent
- Soap
- Towel
- Portable charger
- Charging cables
- Cell phone
- GPS unit
- GPS satellite (for off-the-grid adventures)
- Water-repellent shell or jacket
- Cycling shorts
- Cycling jersey
- T-shirt
- Merino wool base layer
- Merino wool clothing
- Puffer jacket (down jacket)
- Neck gaiter
- Insulated booties
- Leg/arm warmers
- Long-sleeve jersey
- Wallet, credit cards, and cash
- Mask (for Covid!)
How to pack a bike for bikepacking?
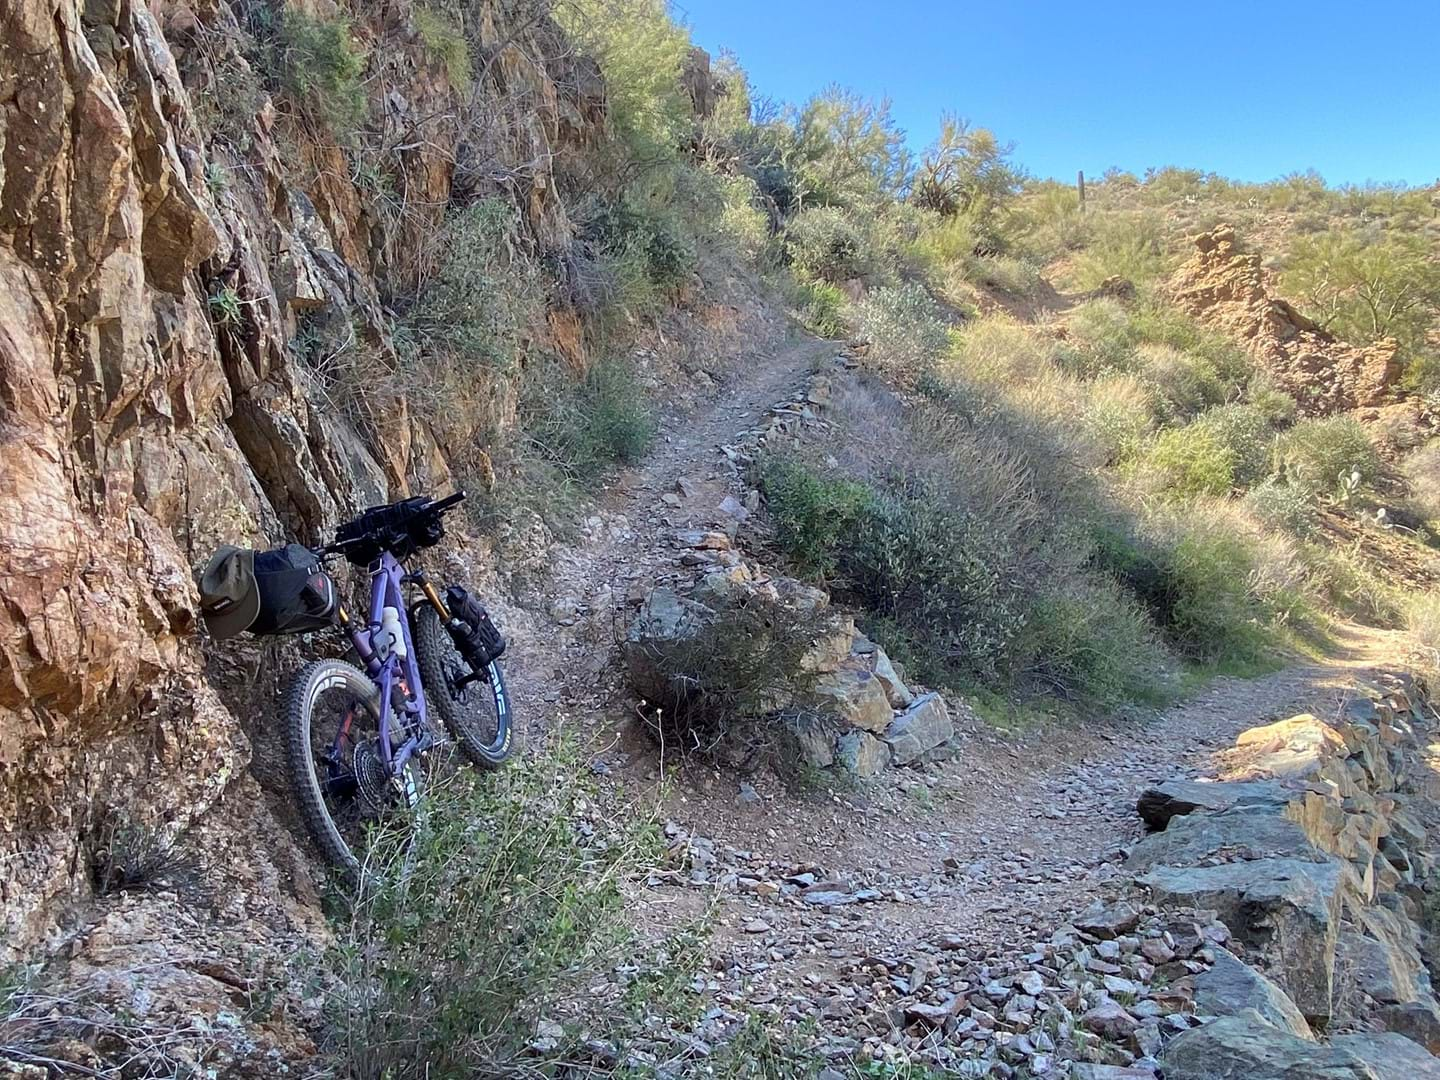
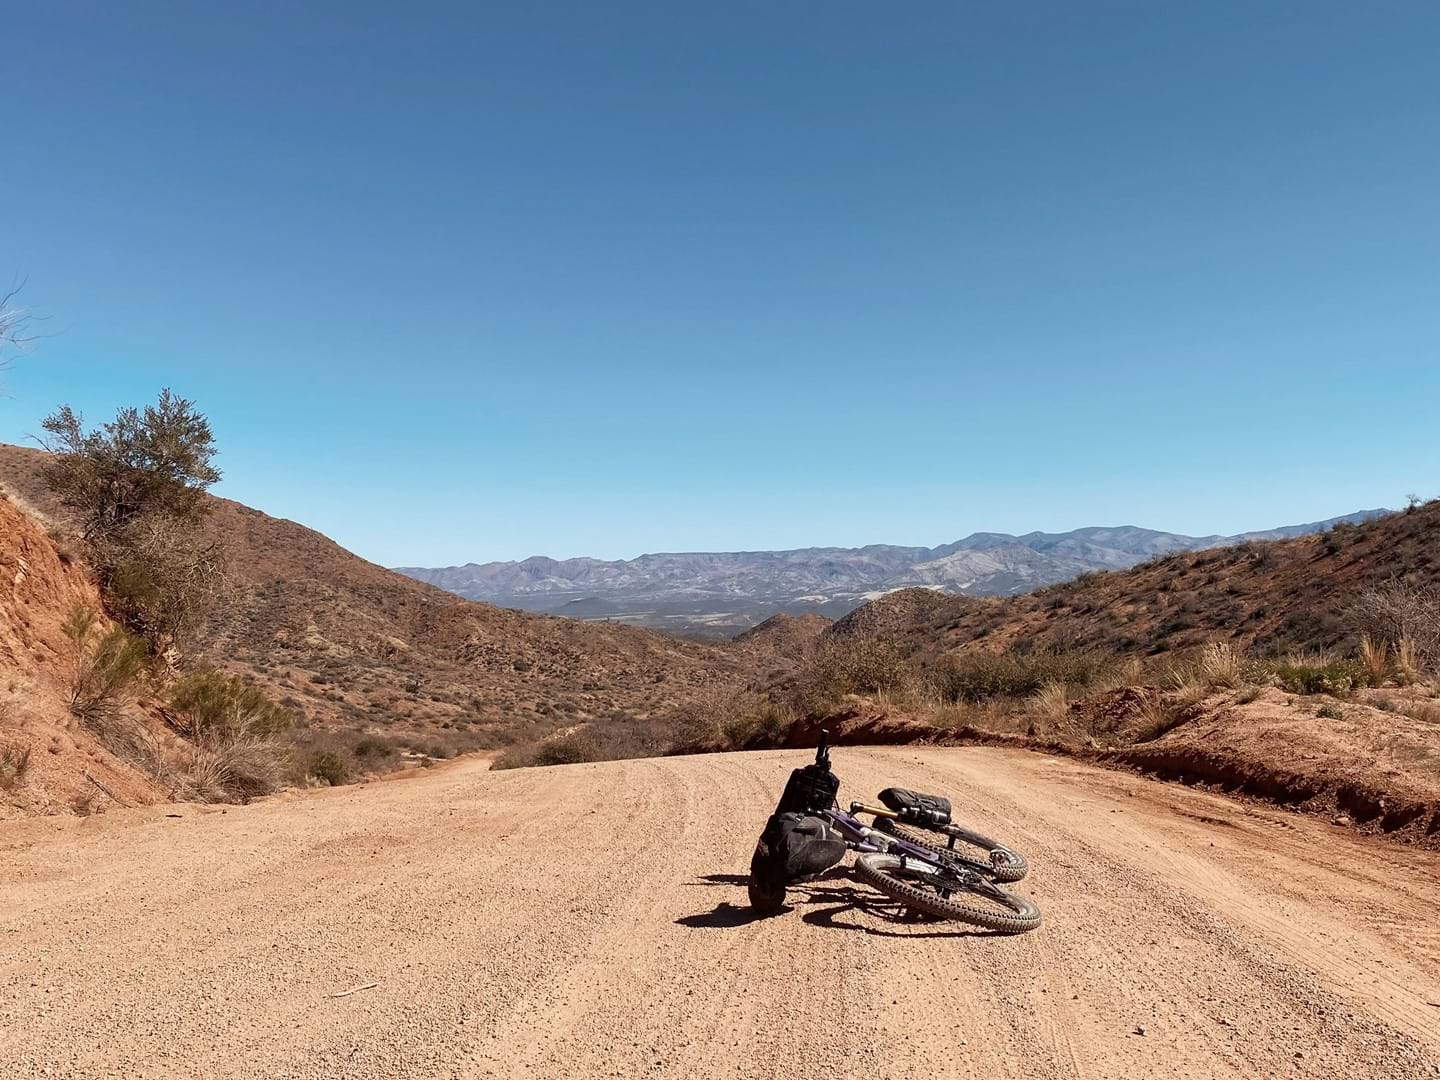
Altogether, this is quite a pile of equipment, and you should think carefully about how you will pack everything so that it’s as efficient and logical as possible.
As much as you can, you want to put the things you use the least in the deepest corners of the lesser accessible bags. Conversely, the things you need the most frequently, like snacks, should be the most accessible: snacks go in the handlebar bags, and it’s a good idea to put the tubes in the top-tube bag as well as in a small handlebar bag or even a front-fork or front rack bag.
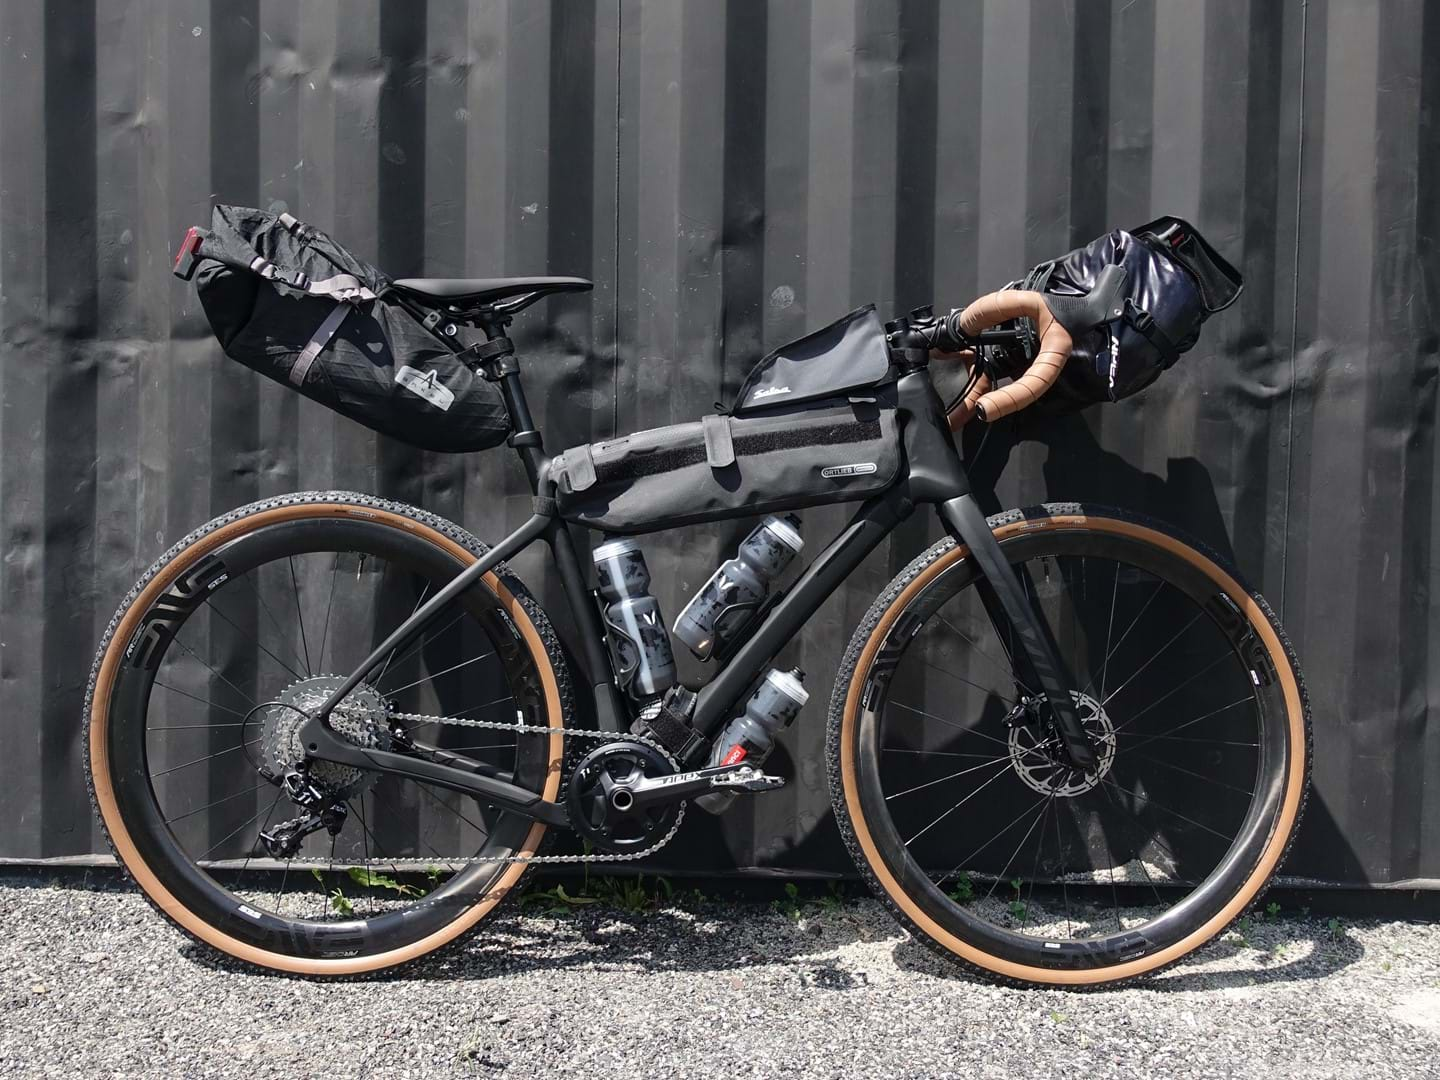
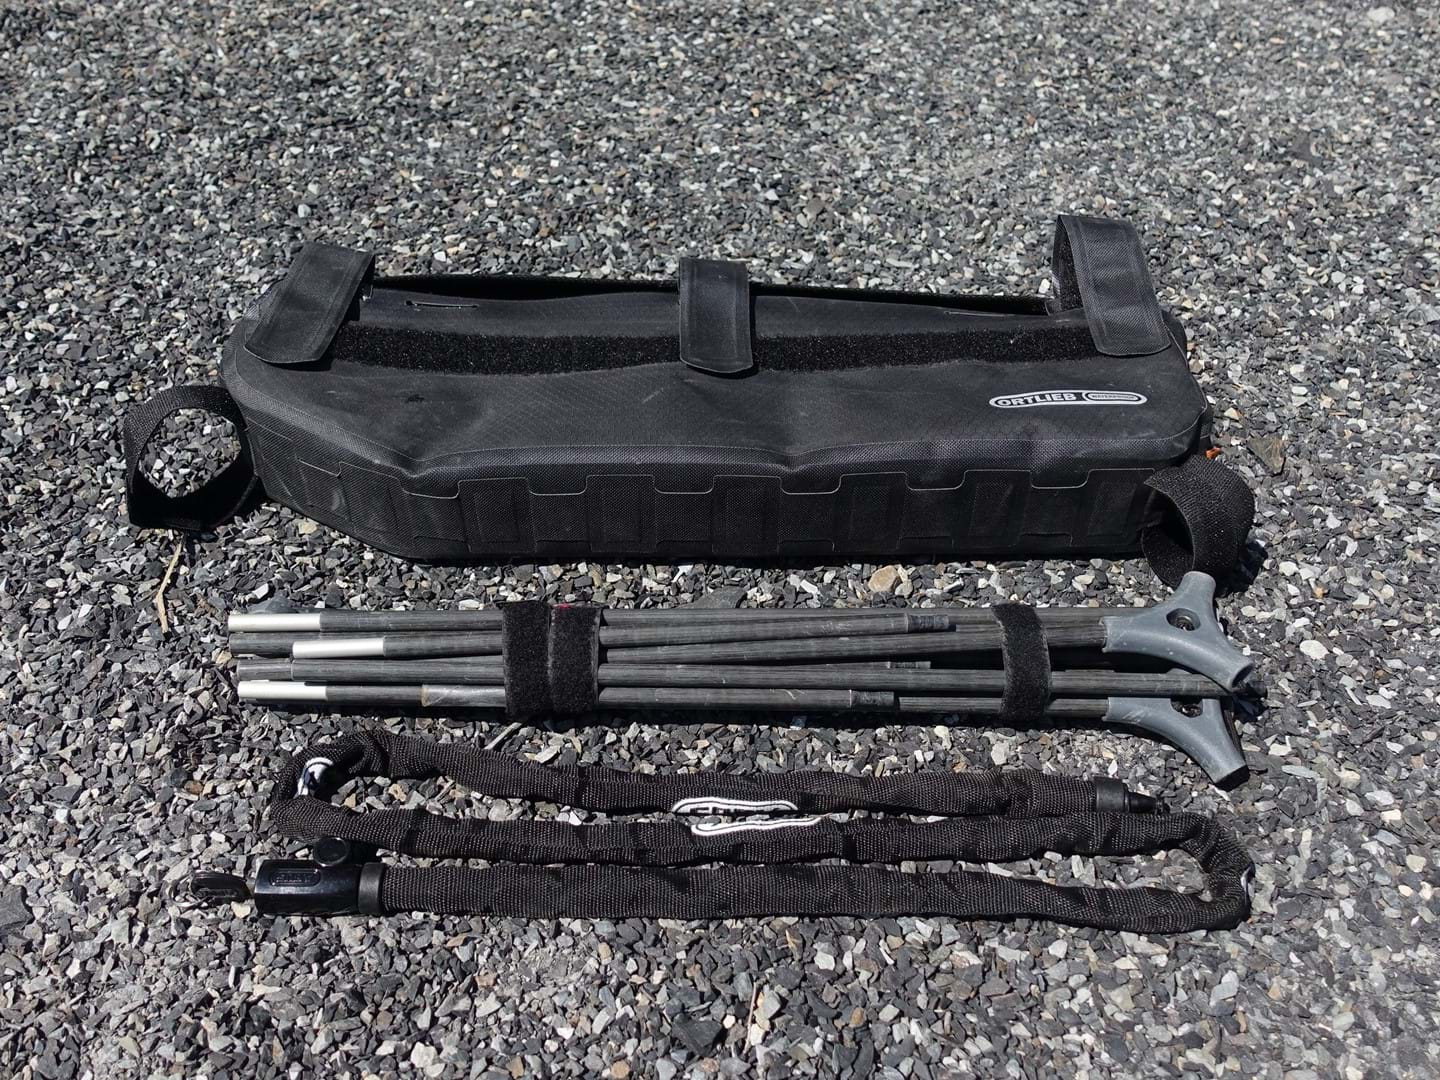
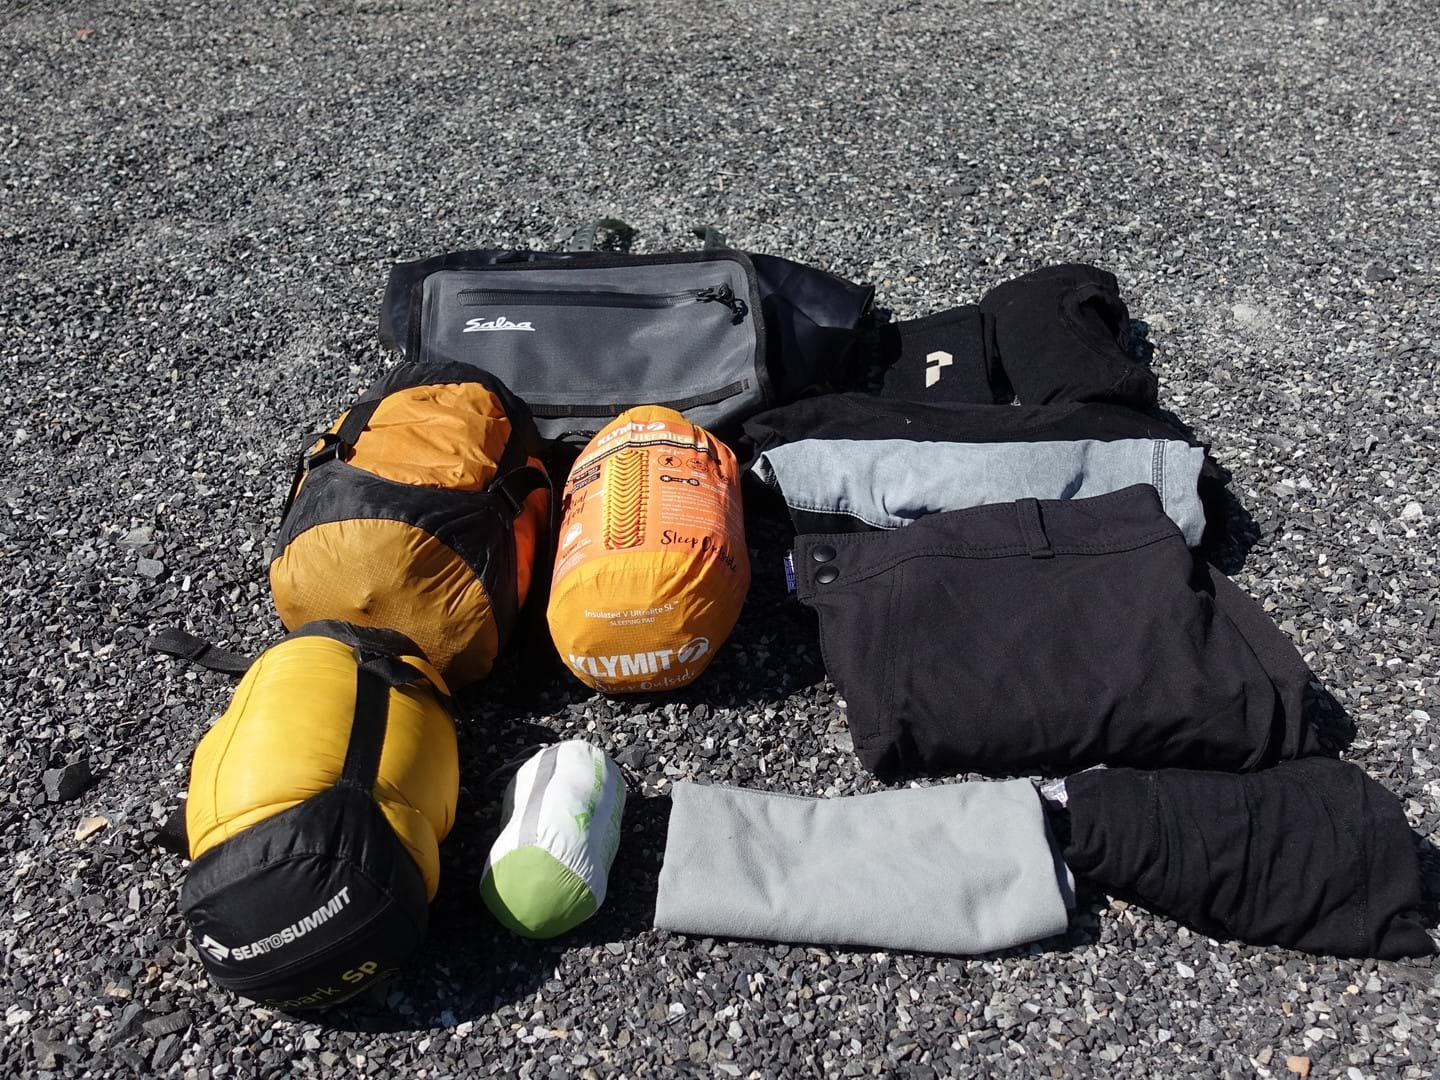
Everyone has their own method for packing their equipment. However, a good general rule is to put the heaviest items lower on the bike in order to reduce the bag’s center of gravity and thereby maintain better control of the bag and the bike.
Where to camp when bikepacking?
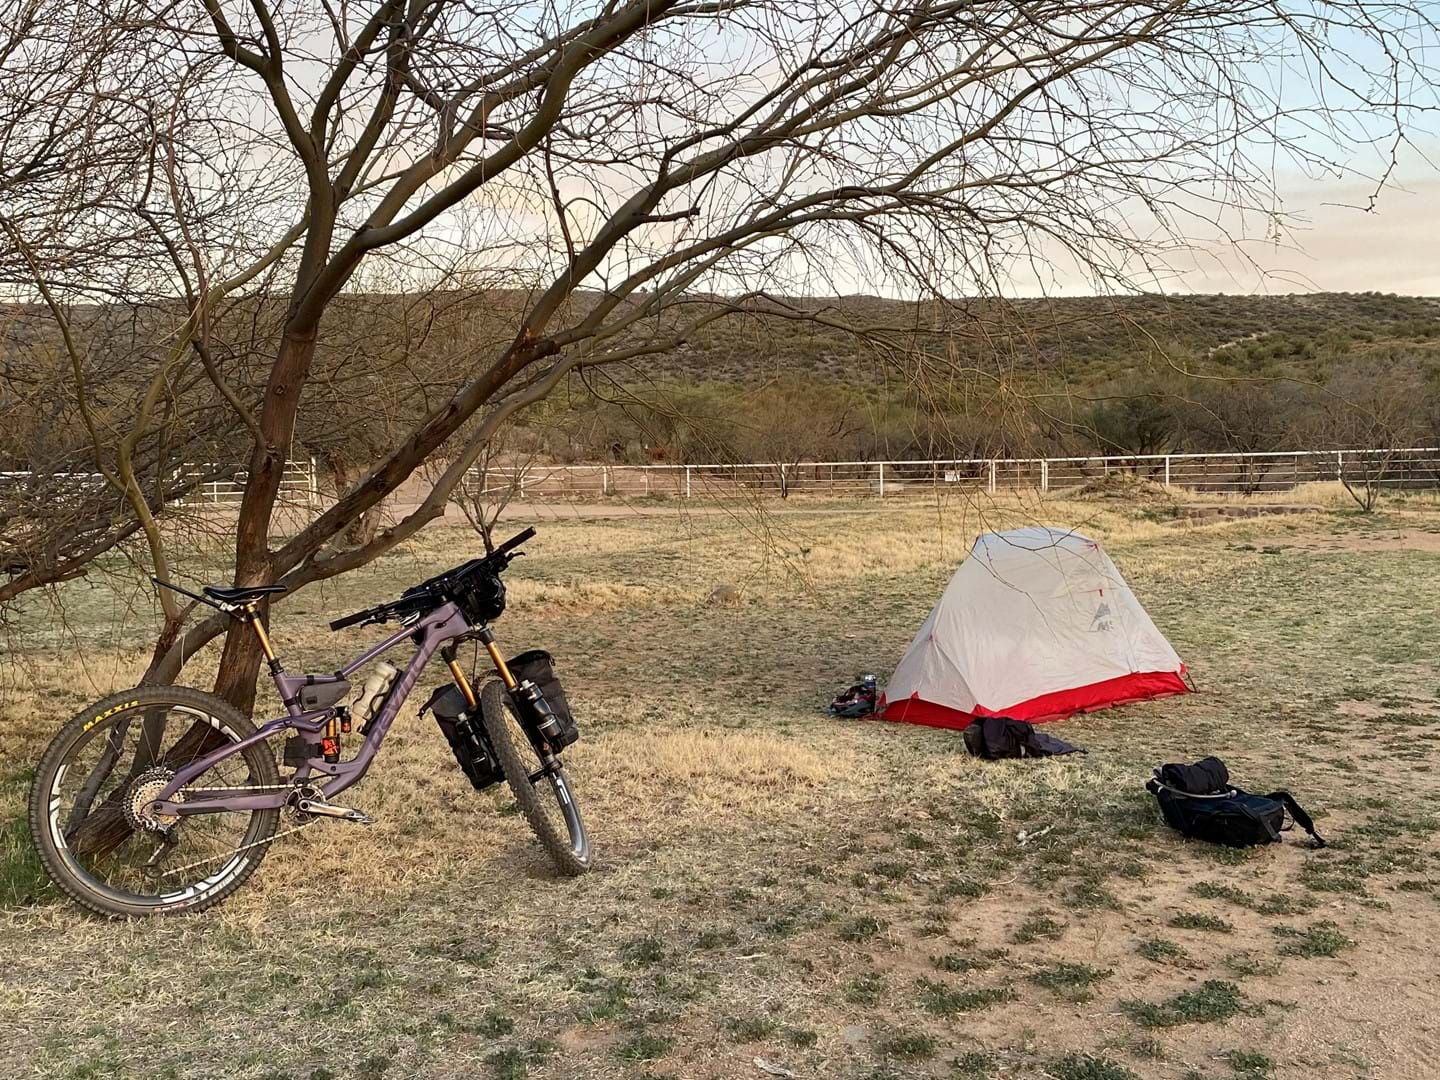
There are many options for camping while bikepacking, as with camping while touring. The simplest solution is to reserve your camp site in advance. Again, preparation is key!
Otherwise, it is sometimes possible to backcountry camp in more remote areas by registering with the national park authorities.
In Canada, there are also public domain lands, but it’s a good idea to check the local rules and regulations before heading to these areas.
In the United States, it’s common to be able to camp anywhere on lands held by the Bureau of Land Management. These are often very large areas and are usually found in the south-east of the US.
How to find bikepacking routes?
Tools like Ride with GPS, Komoot, and Google Maps are great. But you should also visit www.bikepacking.com; this site is the absolute best resource to find routes as well as helpful information on bikepacking. For Canadian routes, visit www.bikepack.ca.
Our ambassador, Dominick Ménard, has also provided a few of his favourite routes through Canada and the United States.
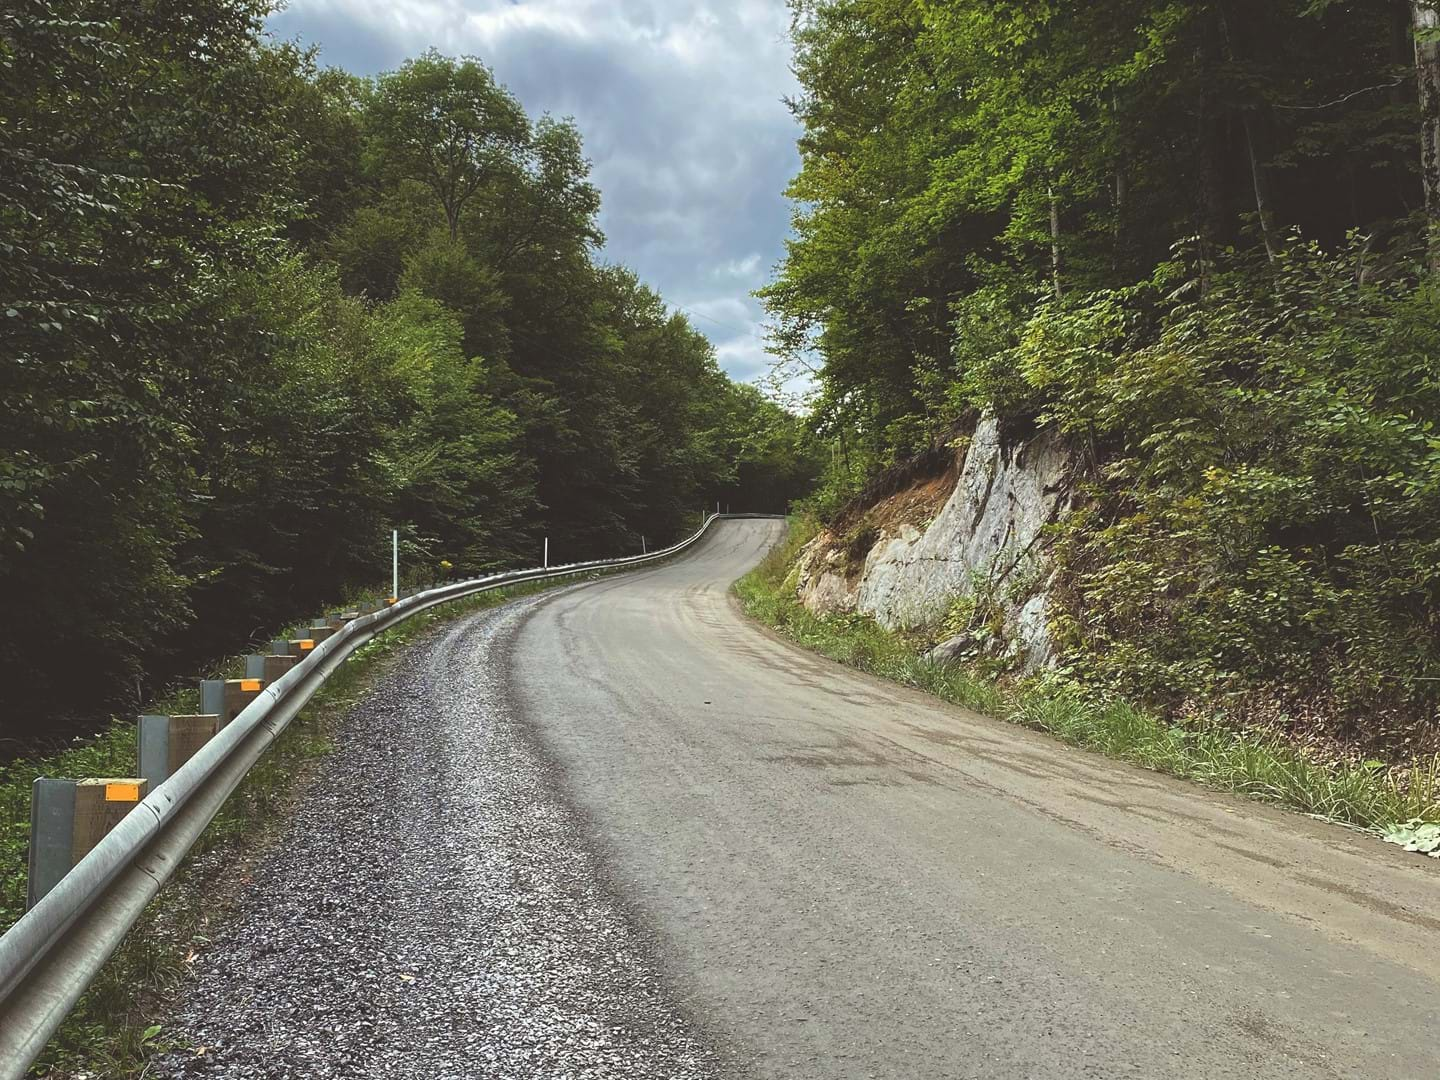
P'tit train du Nord, QC, CA
Perfect for a first time!
Saw̓pa (Cloudburst Mountain) Divide, BC, CA
To give yourself a bit of a run for your money.
Grand Staircase-Escalante N.M. High Plateaus Loop, NM, USA
To get out of your comfort zone. Big time.
In summary
The absolute “must-haves”:
- Your emergency supplies, water, and food,
- Ideally, a change of clothing for the end of the day,
- If heading to more remote areas, a paper map of your surroundings.
The things you don’t need:
- Too many electronic items
- Too much clothing or multiple pairs of shoes
How to deal with water and food:
- Plan in advance your stops for shopping and for refilling your water bottles.
- Leave a bit of space in and strapped on your bags for extra food.
Tips and tricks for first-time bike-packers
- Pack resealable bags so that you can repack your purchased food in smaller containers.
- Wrap extra straps around the tubes of your bike frame; they are extremely useful!
- A lighter is more efficient than matches; however, expect the unexpected and bring at least two lighters (or a lighter and matches) and pack them in separate bags
